3d Printed Airsoft HPA System WIP
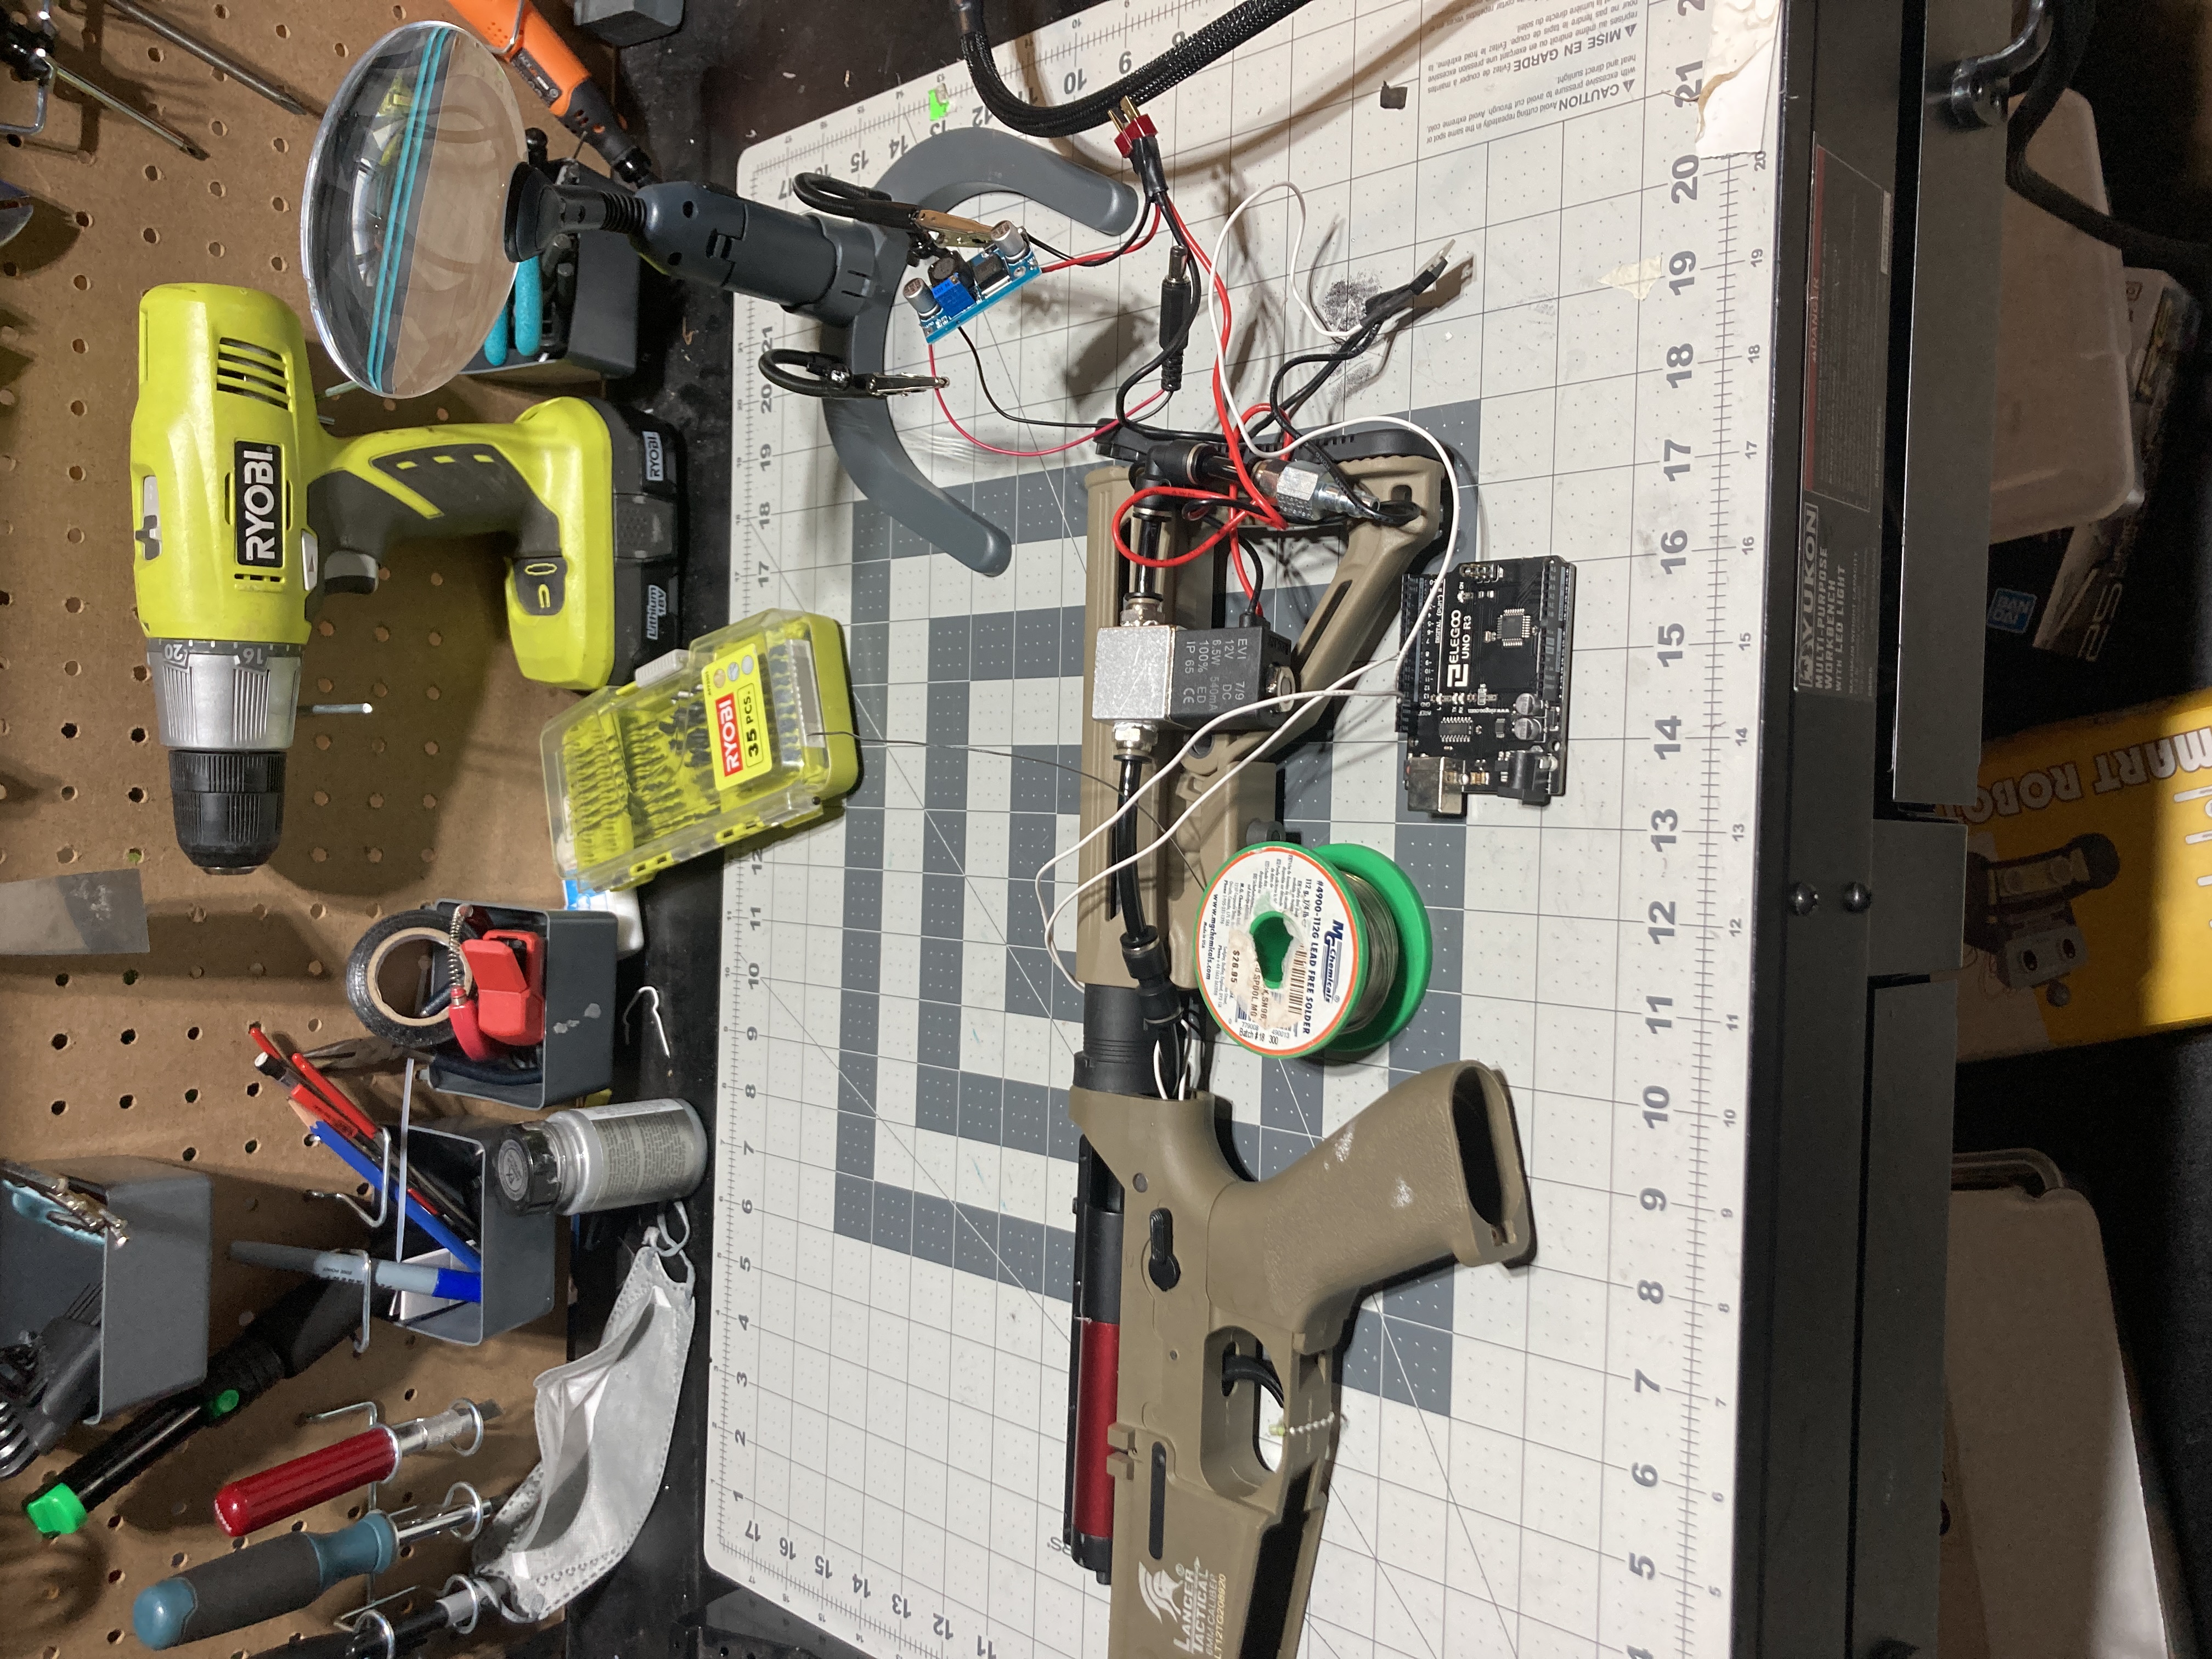
In airsoft, there are certain types of guns which run off of compressed air, known as HPA’s(High-pressure-air). I’ve always wanted to run an HPA system, but have been limited by the cost. However, recently, I discovered schematics and STEP files(From Kuba T-1000, his website is down as of the moment :[ ), allowing for the creation of a fully 3d printed HPA system. With that, I started working on the build.
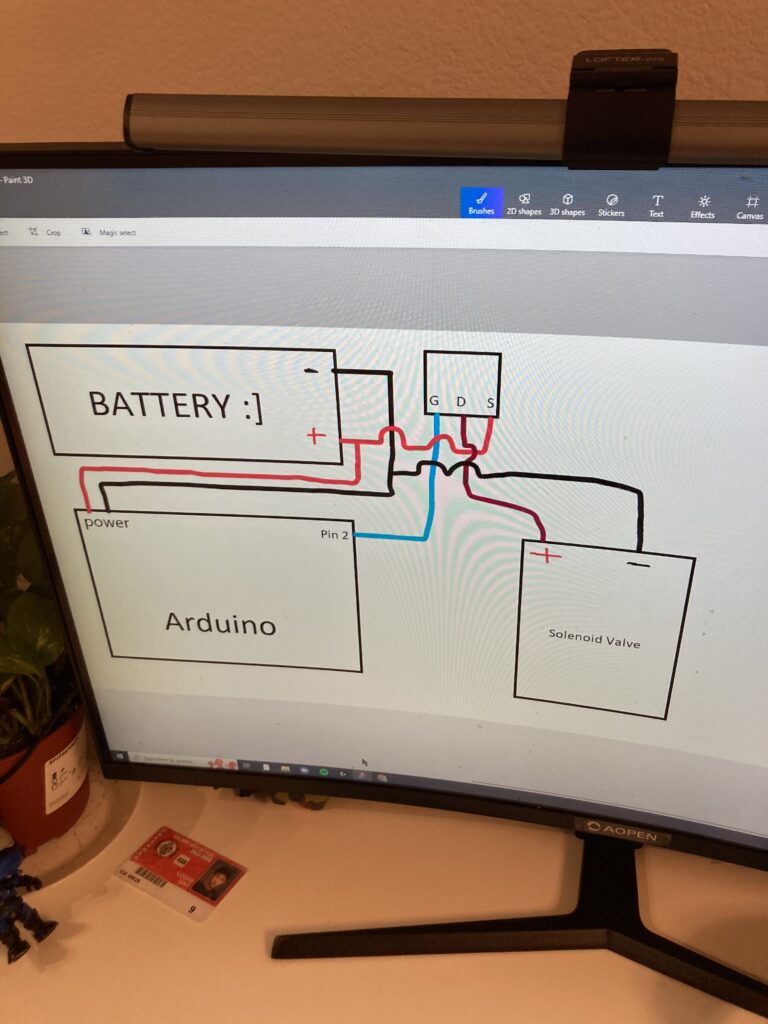 Initial wiring diagram. Notice how the mosfet is wired backwards
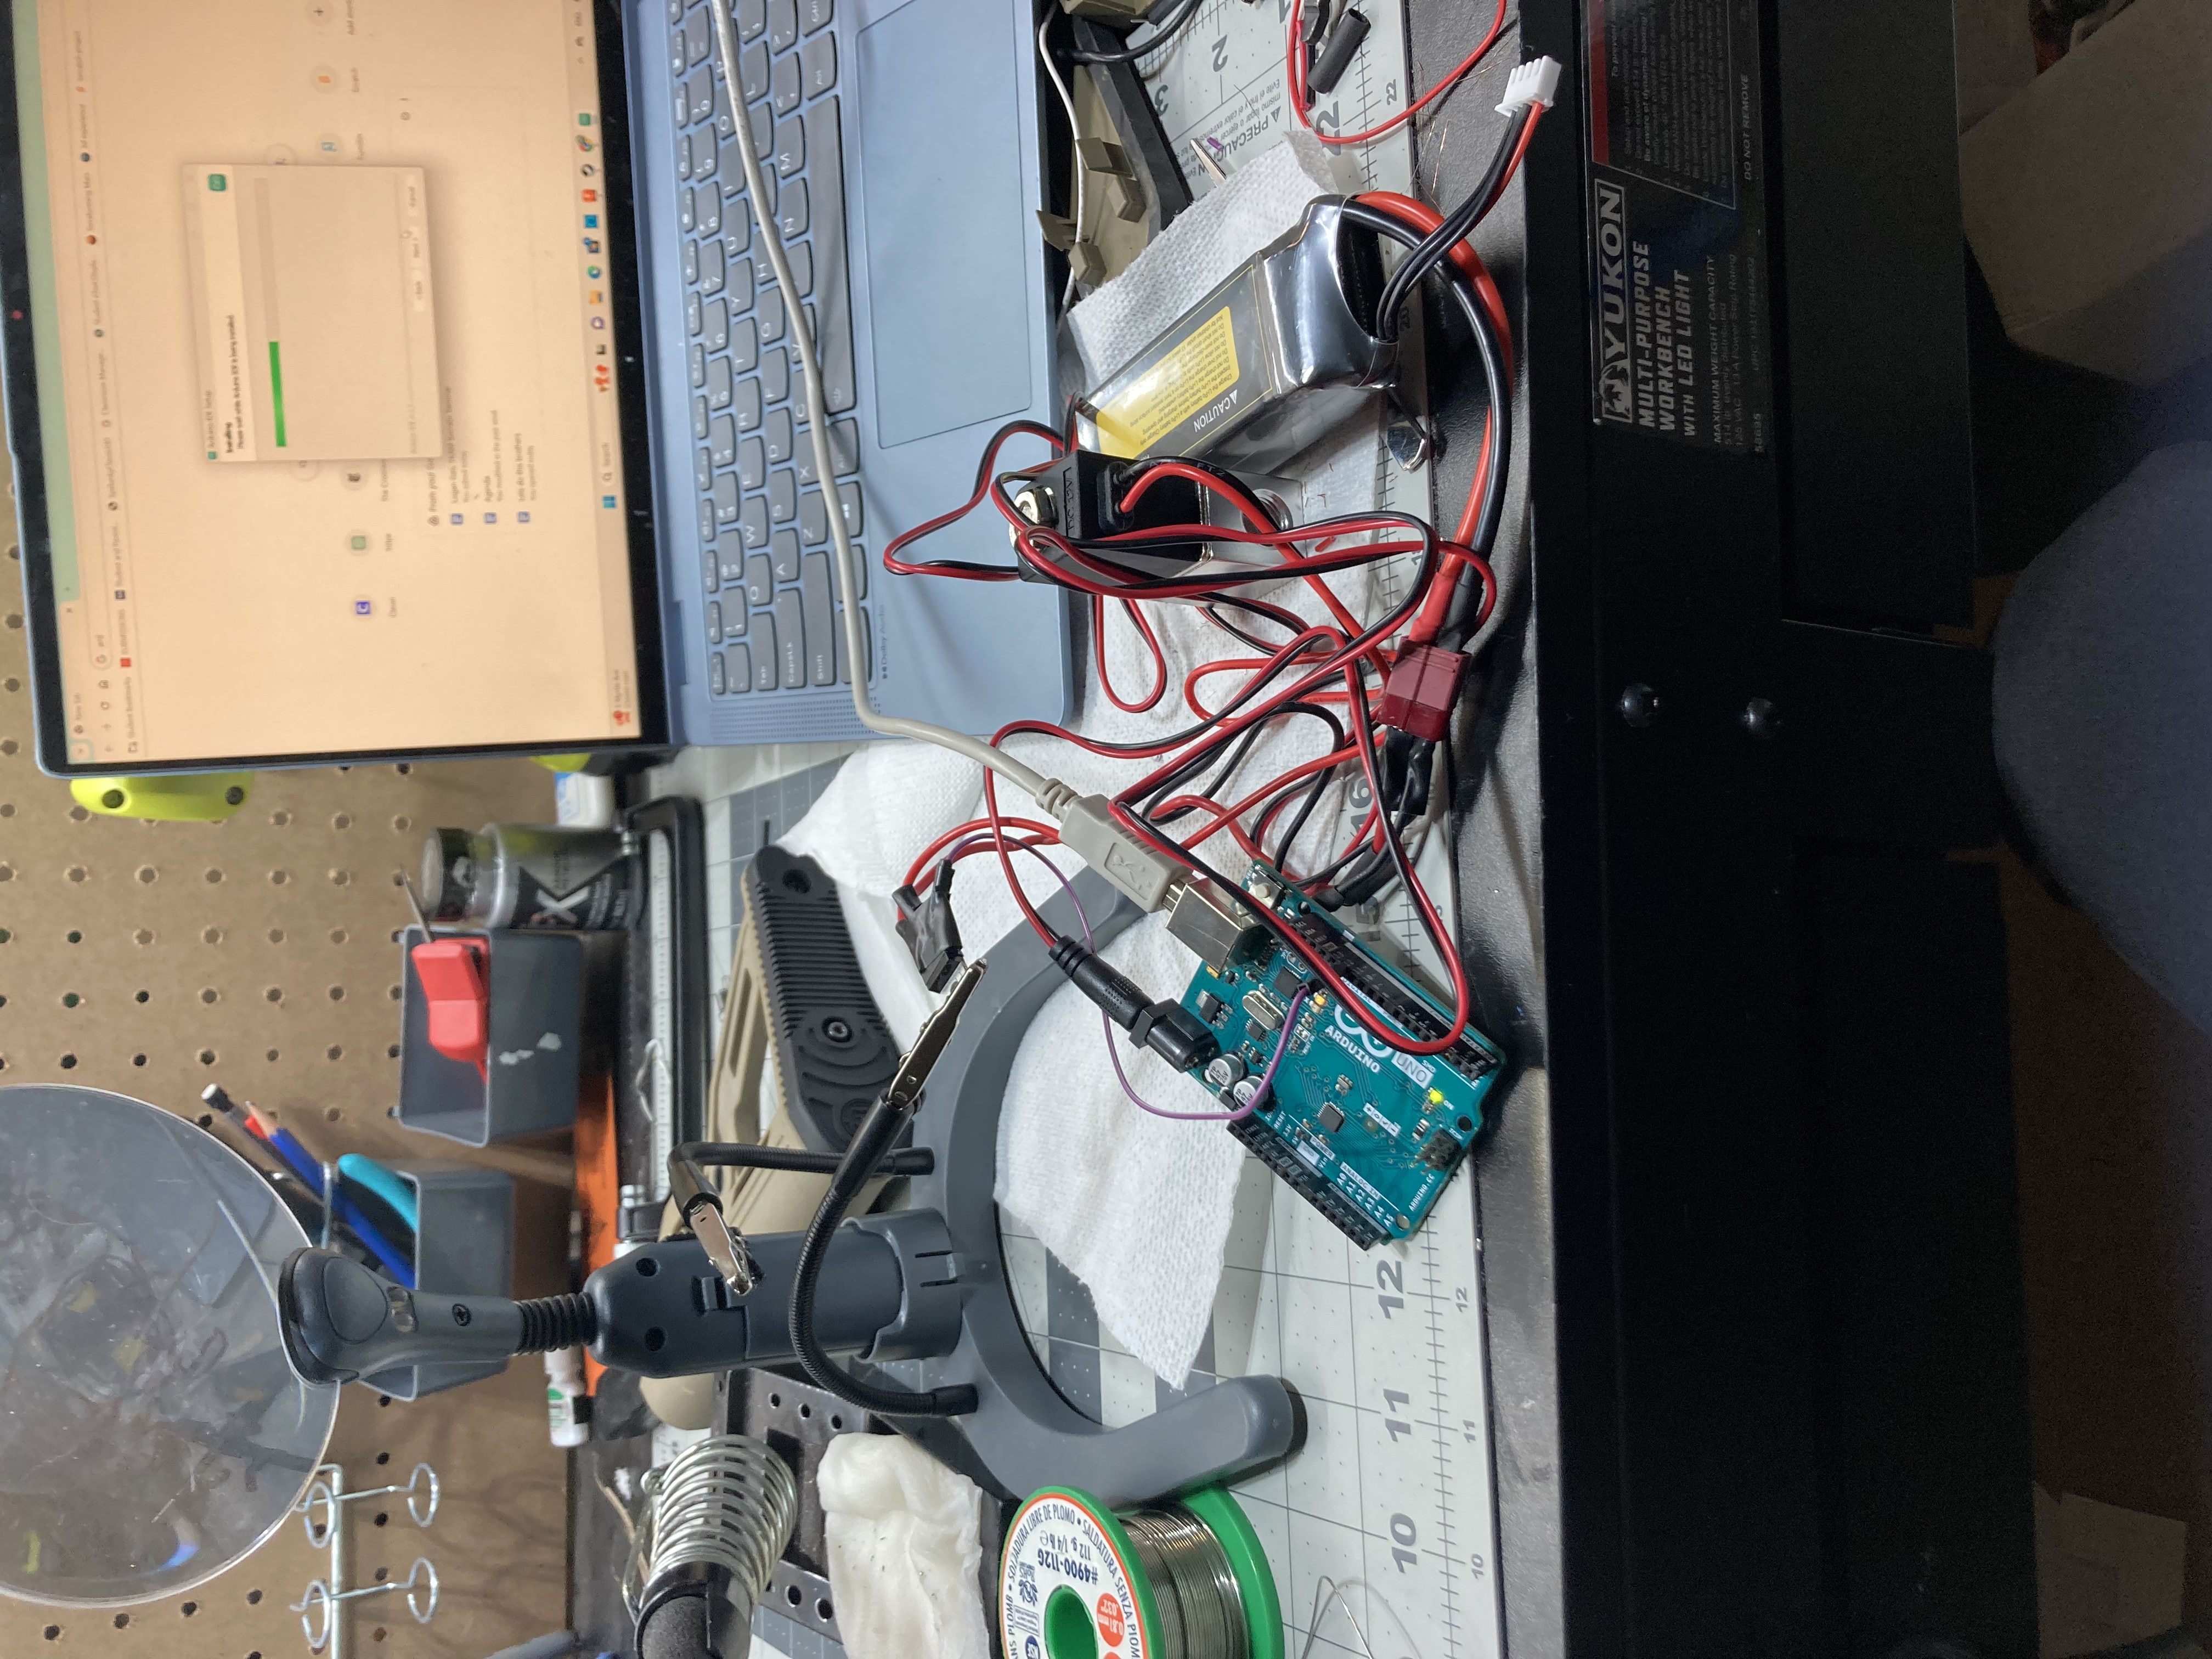 Everything wired up preliminarily.
Logan vs. Electrical engineering: Not a Good Start
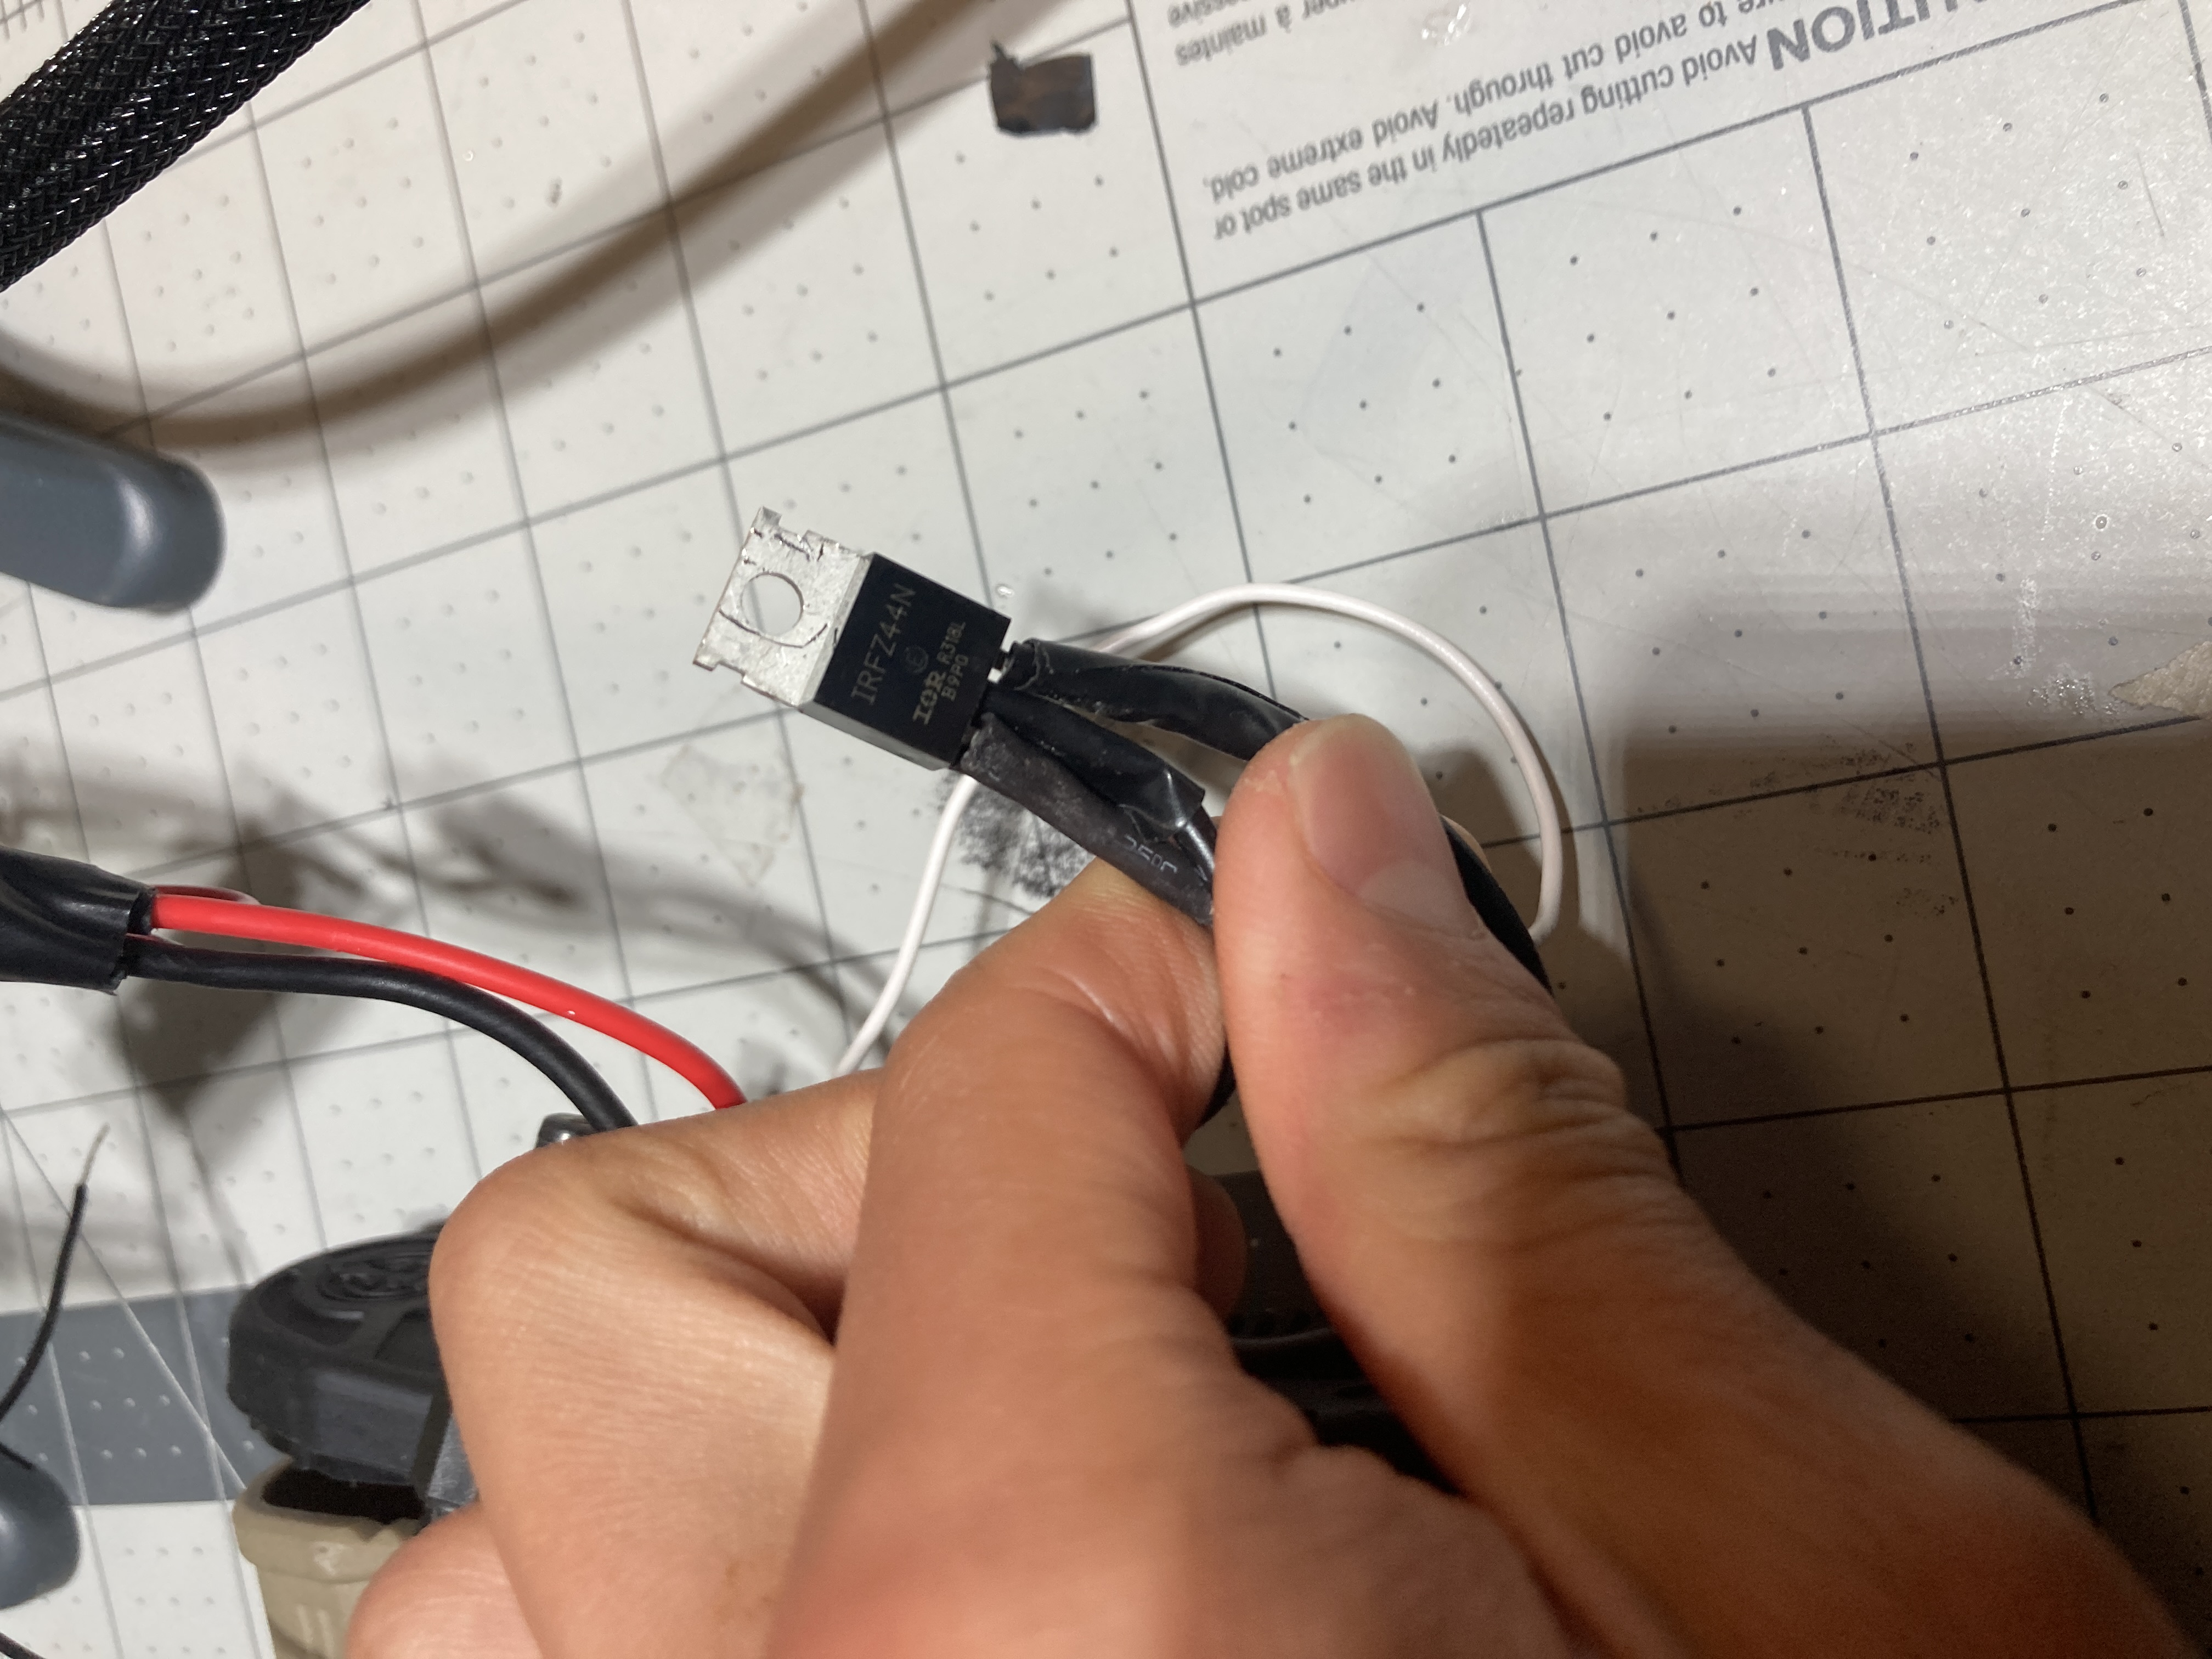
After borrowing(stealing) a MOSFET from my friend Liong, and dusting off the Arduino and battery in my garage, I began wiring. It all went well, but I initially misunderstood how to wire a MOSFET leading to a lot of magic smoke.
The next day, I checked the datasheet, and ended up reading it wrong AGAIN. This time, I thought that the diagram was from the backside, when it was in fact showing the front side of the MOSFET. With that false knowledge in mind, I rewired the circuit yet again, only to have it burn out.
There’s a saying, fool me once, shame on you, blah blah. Anyways I had that in mind by day 3. I was running low on MOSFETs, and needed to actually make progress. This time, I actually took the time to use a breadboard, and finally got the circuit to work. Thankfully, I didn’t burn out any Arduino boards in the process…. right….
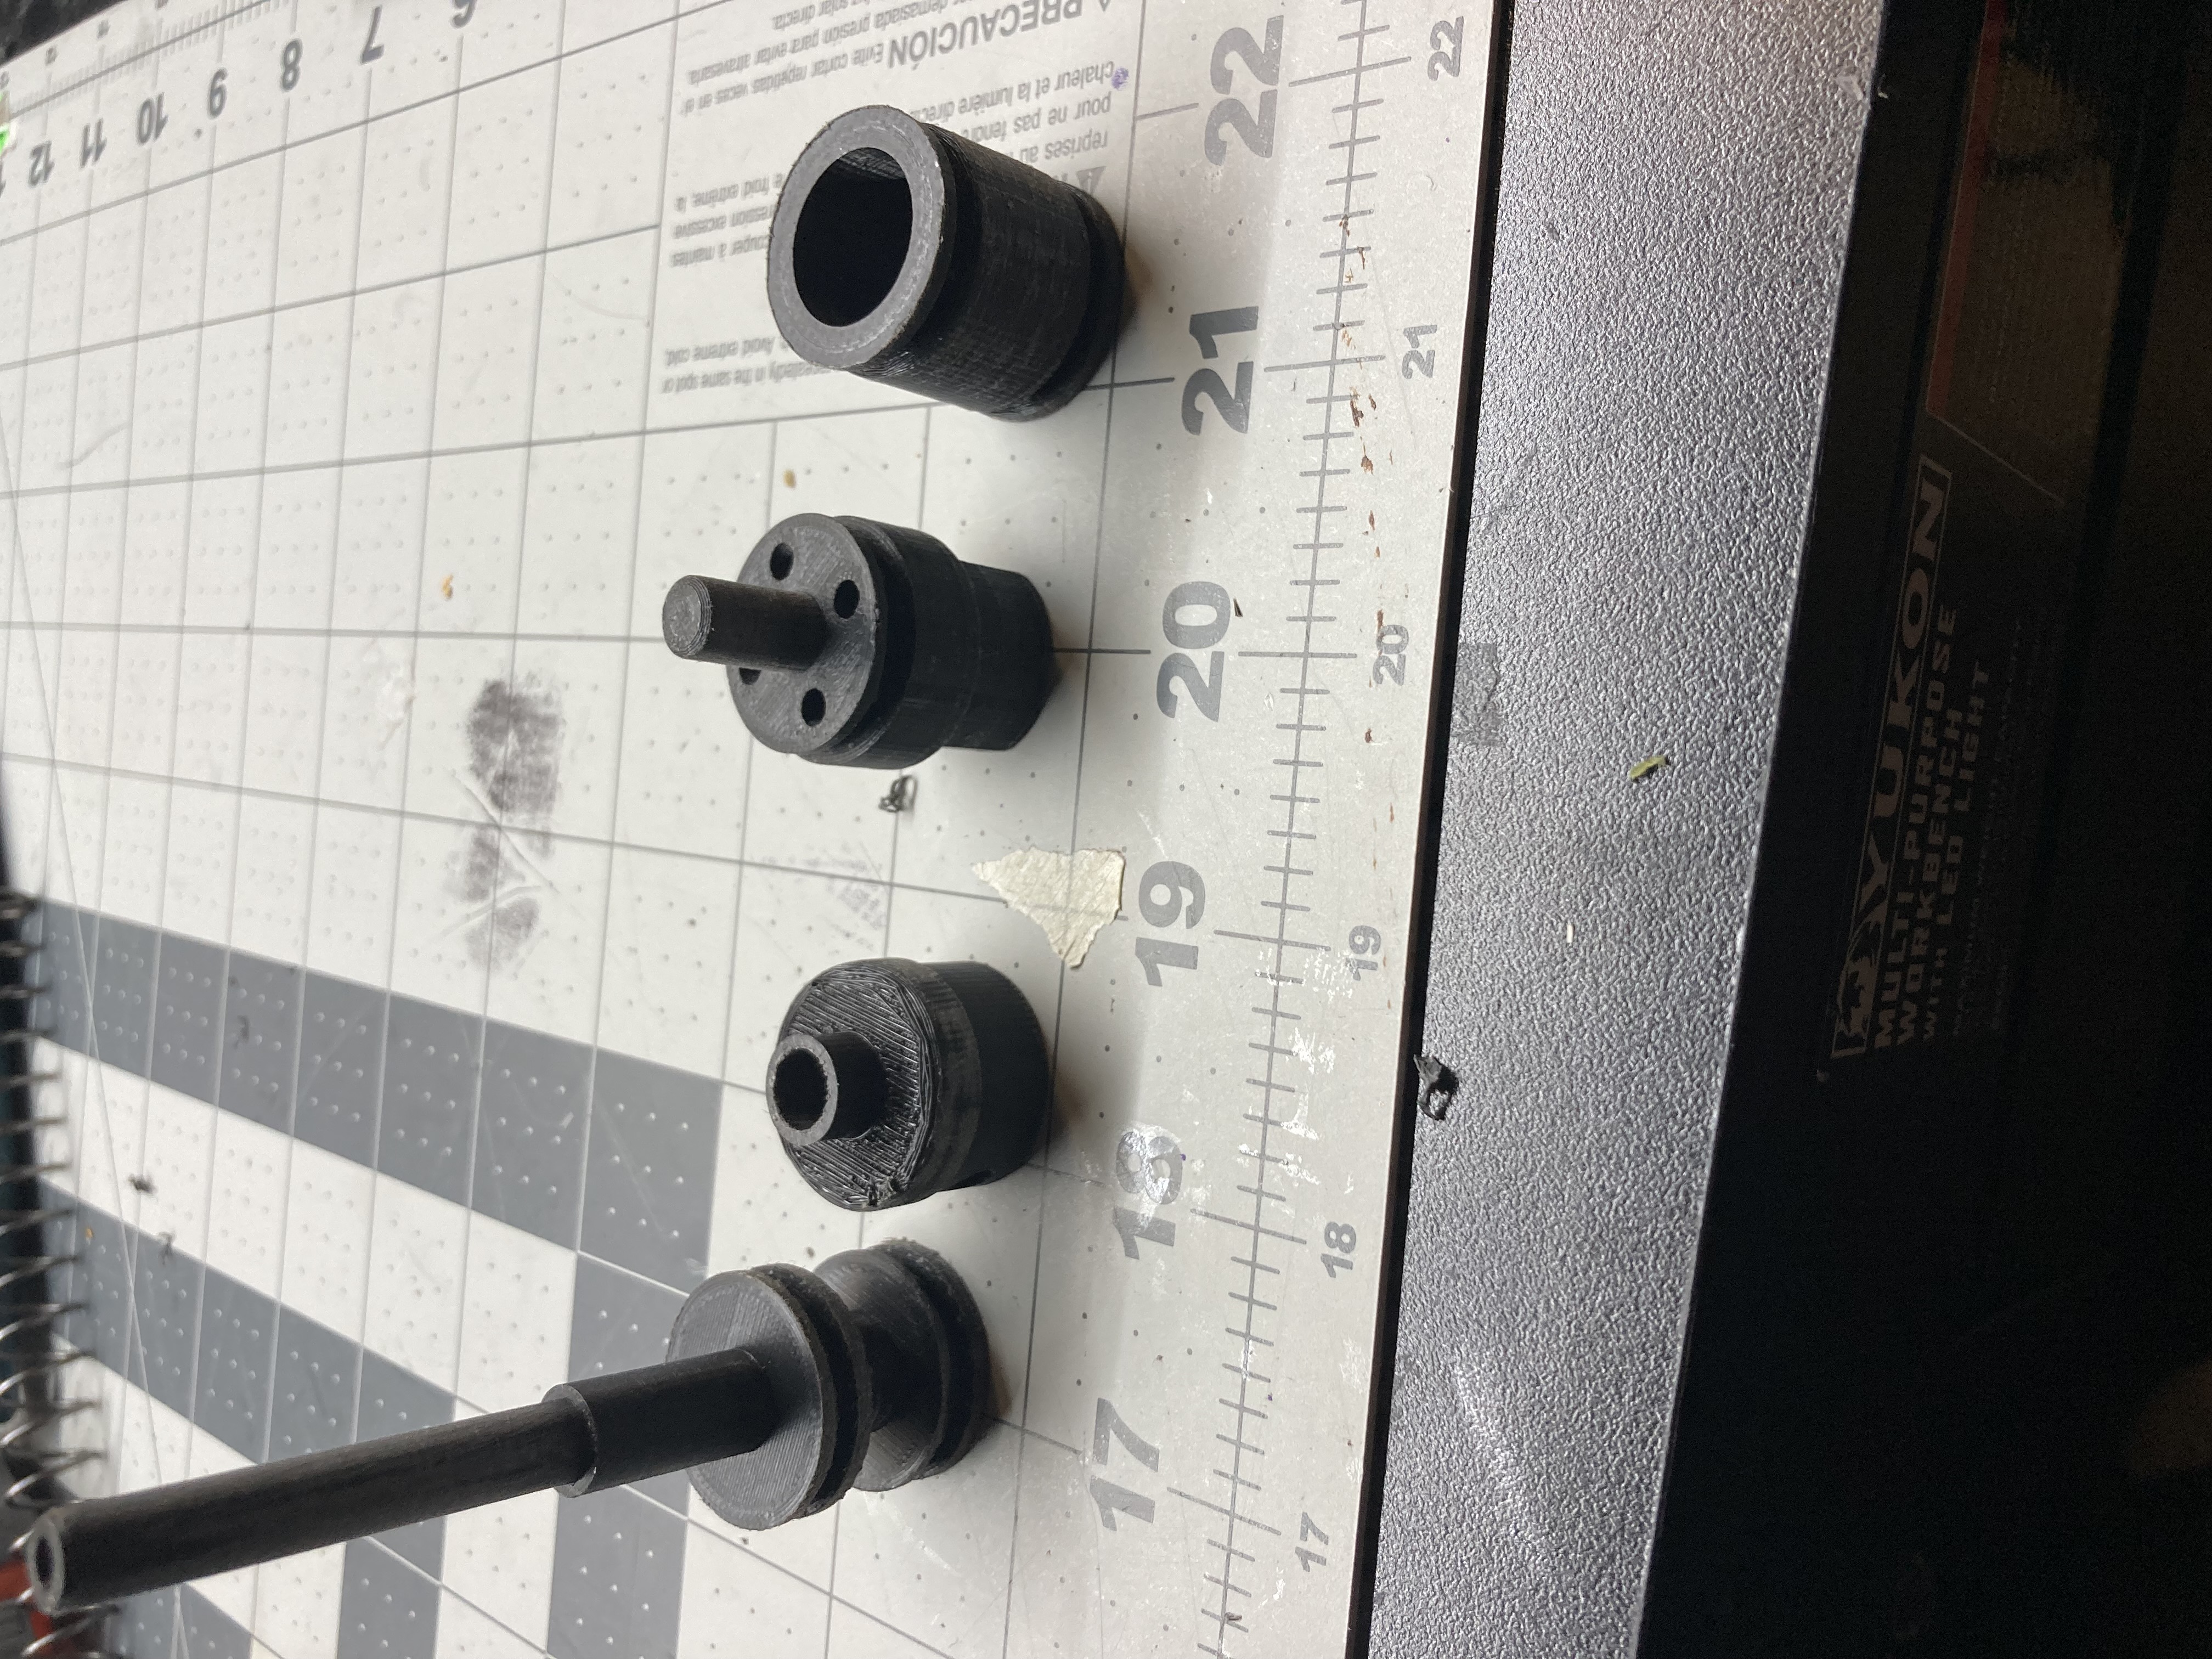 HPA Engine parts printed and sanded
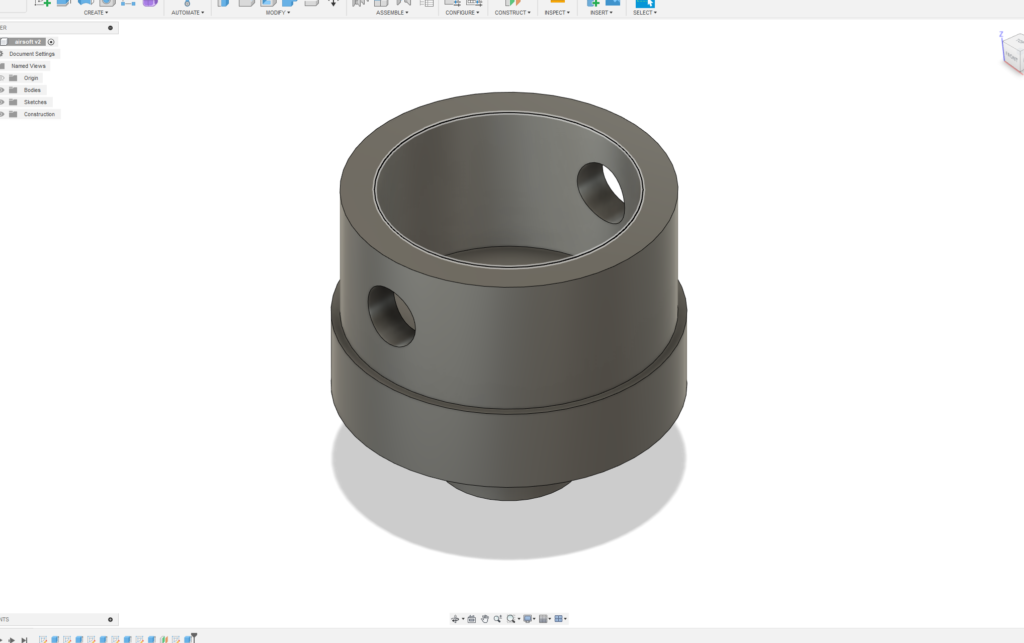 Most parts didn’t fit, such as the piston head, so I had to recad them
Hardware Side
Thankfully, on the hardware side, things were going much better. I printed the parts out with no problems. I needed to sand a bit, but otherwise they came out fine. Unfortunately, all but one part didn’t fit my air piston, so I had to re-model them. Thankfully, the parts were simple, and didn’t take too long to CAD.
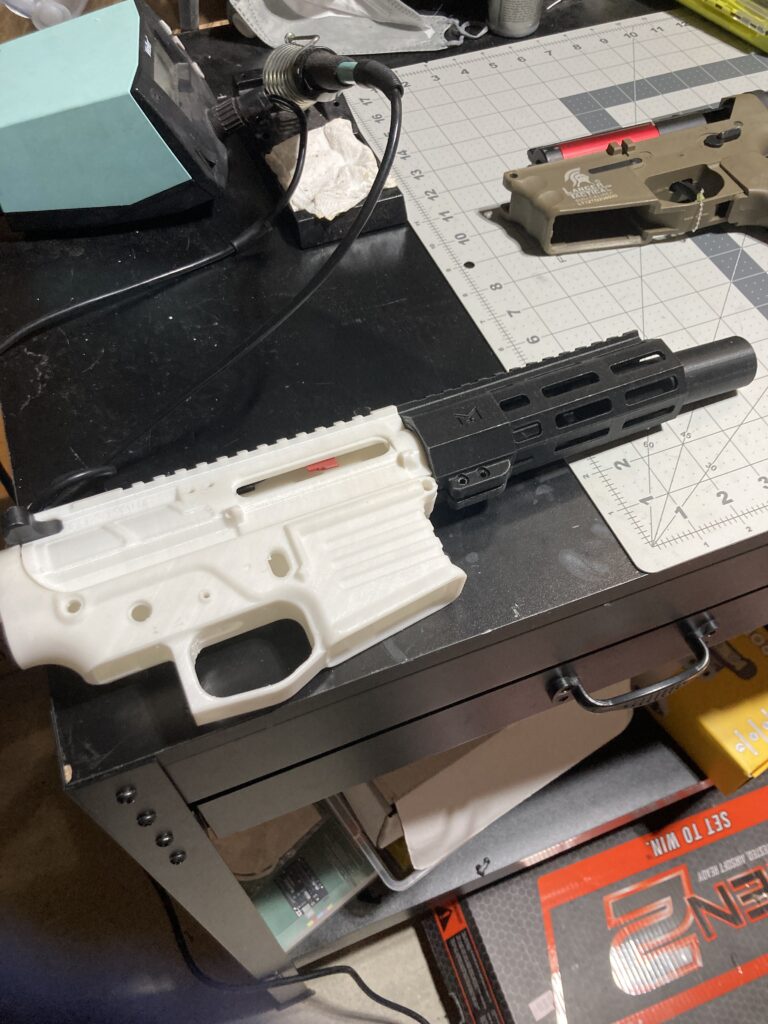
I also found some files for receivers online, and printed them out. As of right now, they don’t fit my internal components, so I’ll probably have to tweak the files in Fusion 360 when I have time. The handguard and suppressor were both modelled by me.
Above is the first full demo of the system. It shows how the modified piston worked, as well as my homemade air regulator, and solenoid valve/Arduino Setup. I wrote the code for Arduino too, allowing for semi-automatic setup, as well as custom timing of bursts.
First time shooting bb’s. Maybe hard to tell, especially with camera quality. Between the previous test and this one, I added more teflon tape to decrease leaking.
Electrical hell V2:
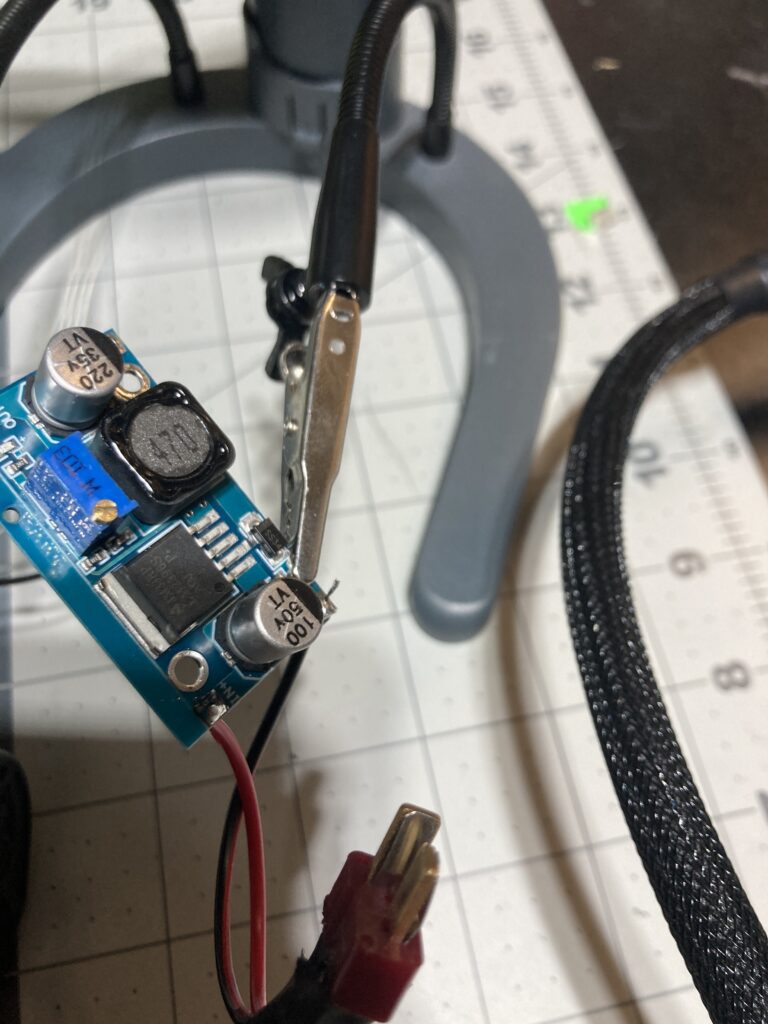
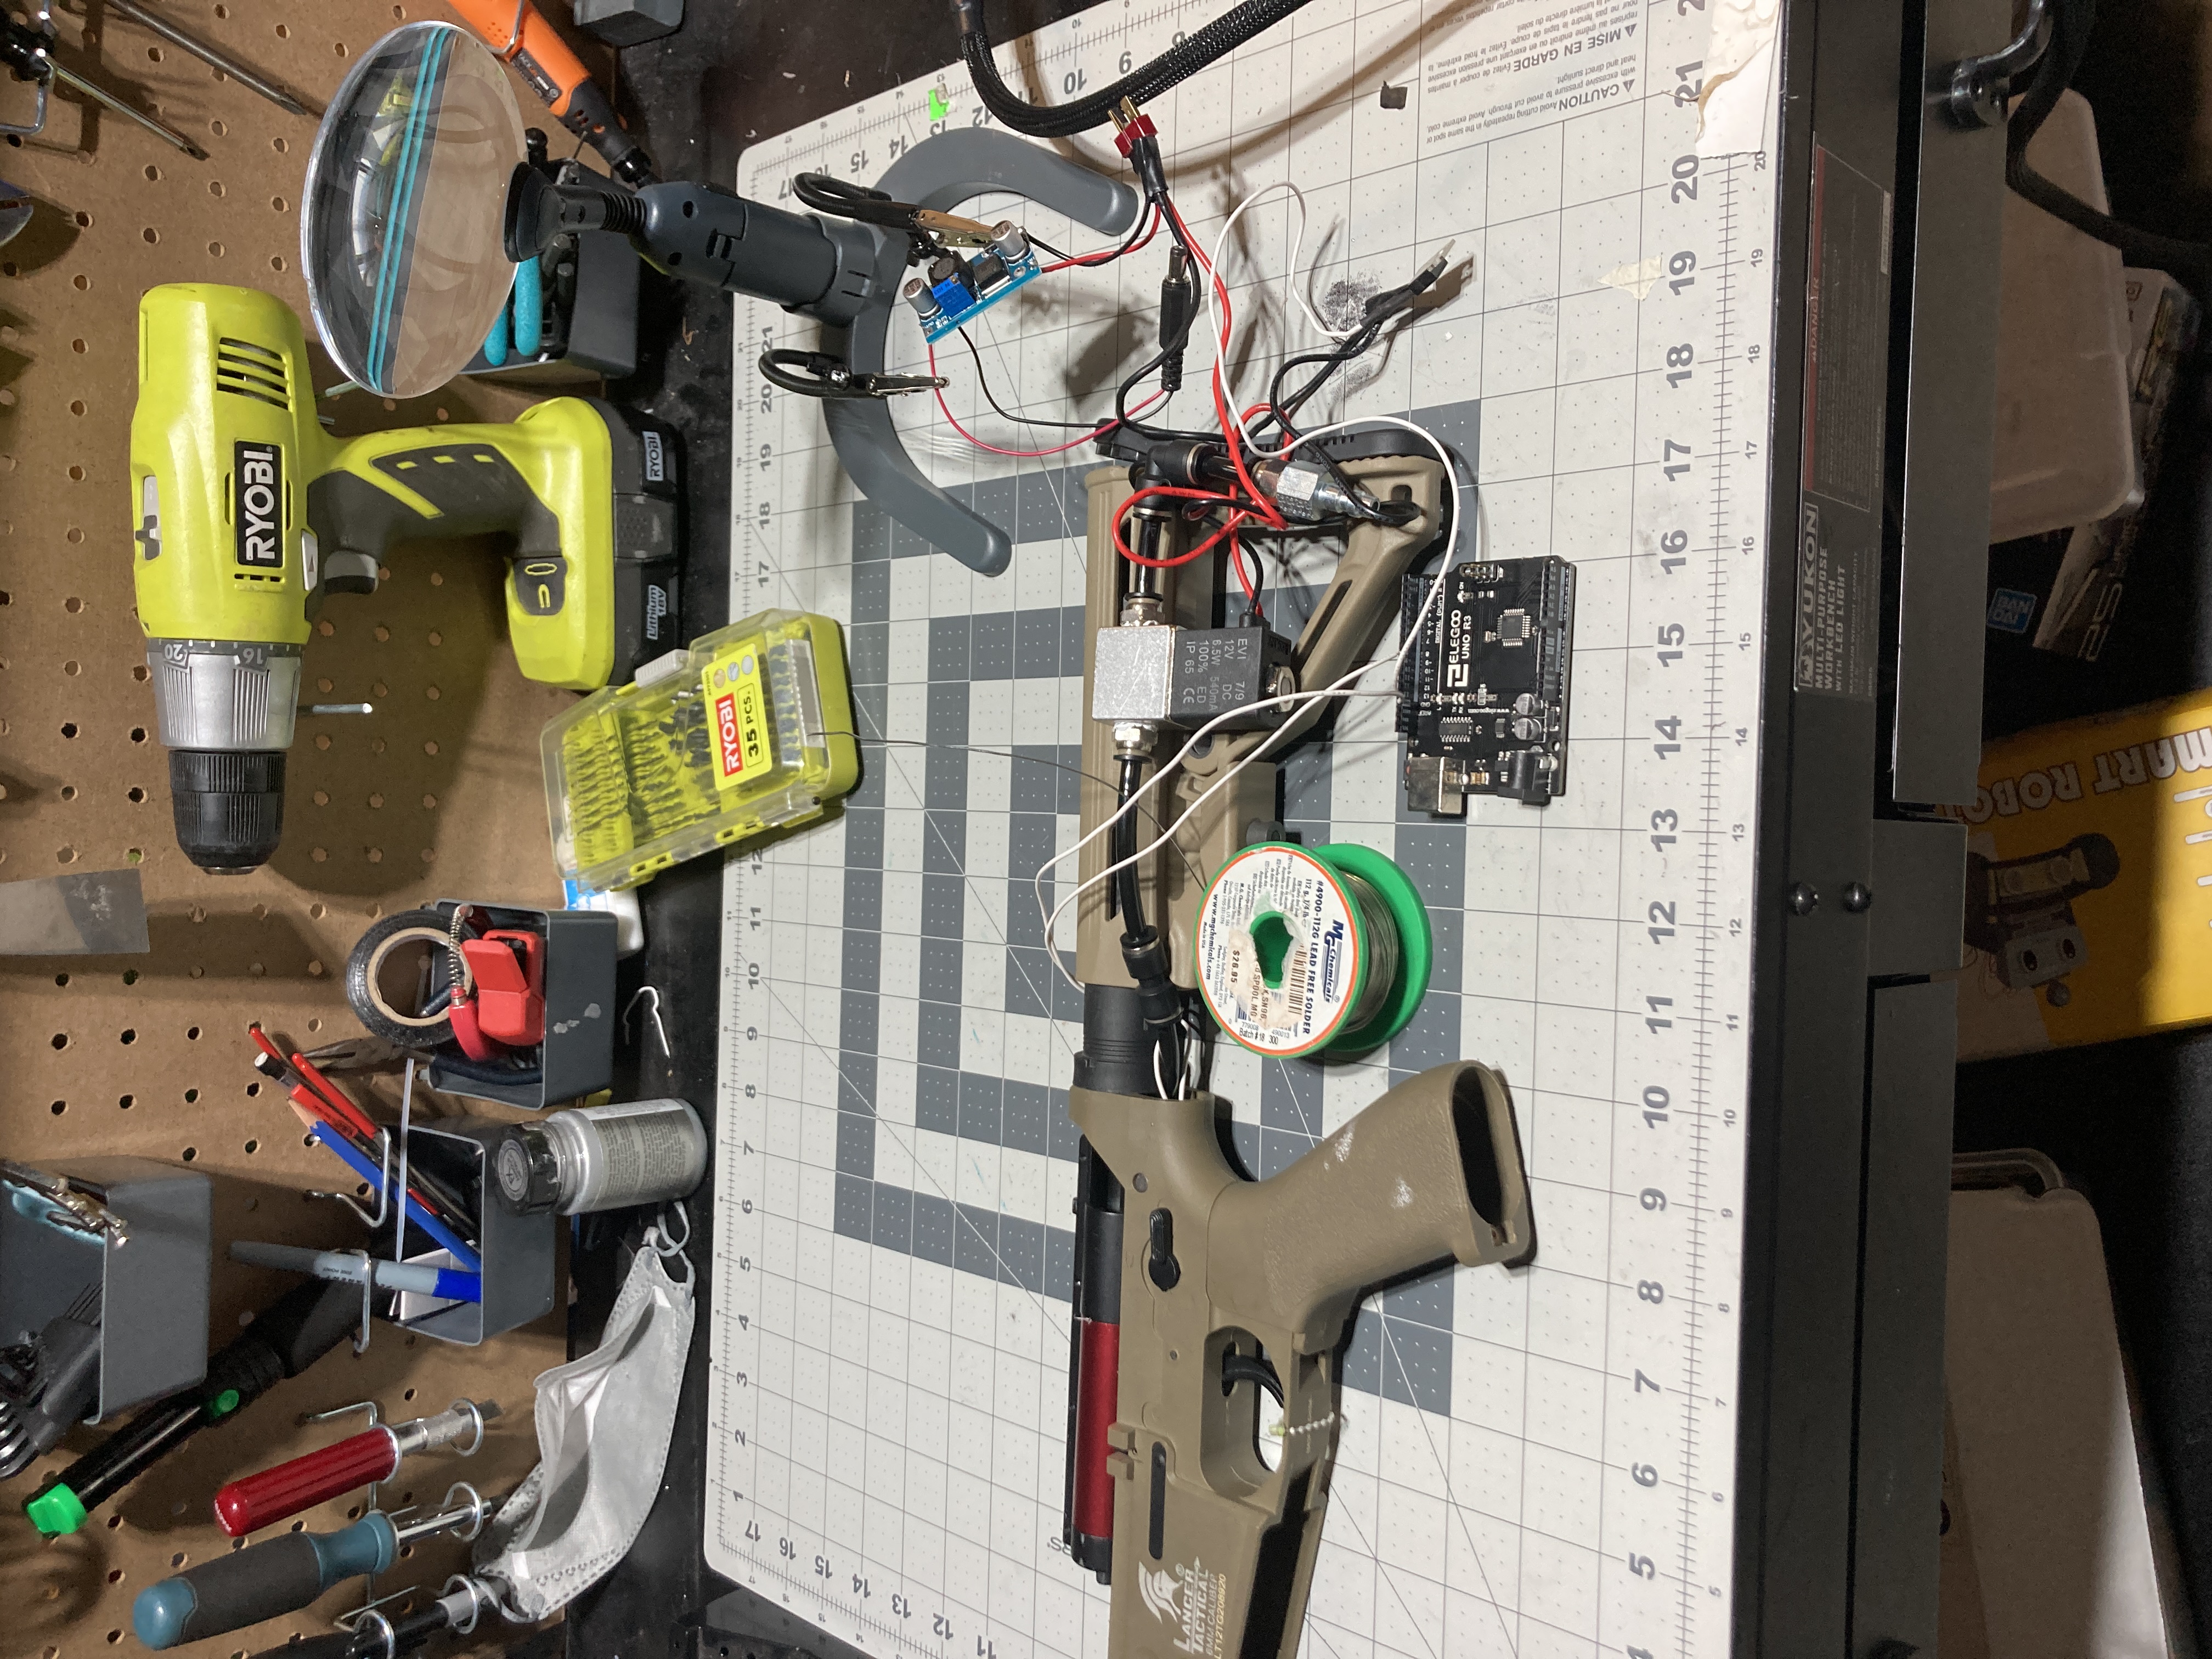
I finally figured out how to wire this MOSFET, as shown above. However, the current draw of the solenoid was too much, and I ended up burning out the power regulator of my Arduino board, bricking it unfortunately. Thankfully, I had a replacement, but I decided to buy a buck converter to prevent it from happening in the future.
Next Steps:
From here on out, I need to find a way to attach the battery, Solenoid valve, as well as Arduino onto the stock of my gun. I haven’t had time lately, but I’ll probably cook something up in Fusion 360. As of now, I’m getting hit hard by Applied Engineering and Orchestra, so it’ll maybe be another month.

