
3d Printed Halo Reach MK V[B] Armor
Truth be told, I’m not even a fan of the Halo franchise, with all its games, books, and regretable movie and TV adaptations. I rarely find myself playing any of the Halo games, and when I do, I don’t find too much enjoyment. The worldbuilding is also much too convoluted for me, and I unfortunately can’t find enough space in my head to fit the epic tales of master chief when I have other things like English class to worry about. That being said, I do find the art and character design of the Halo games to be incredibly cool. All of the futuristic weapons and armor, gosh, I just can’t get enough of it. With that being said, I hope you can understand some of my motivations for attempting to create a wearable set of Halo Armor, an incredibly daunting project I would later come to find.

Preparation and Set up
Inspiration for this project struck while I was scrolling on Reddit, and saw a picture of someone else’s 3d printed Halo armor. I had just acquired a new 3d printer, and I realized that I now had to power to create my own Halo armor at will. In an incredible surge of short-lived inspiration and motivation, I purchased a program online called Armorsmith. Essentially, it takes in your measurements, and creates a virtual mannequinn that you can fit armor pieces onto. With armorsmith, and a shady set of free Halo armor files I found online, I embarked on the journey of scaling and preparing armor pieces for printing. Choosing what pieces of armor to use was incredibly fun, and felt like playing with a virtual Barbie doll. However, throughout this process, I also had to face the reality of my terrible body proportions.

Printing
3d Printing the armor was probably the easiest step of the entire process. All I had to do was to put in a file, and it would work tirelessly without break to churn out a piece of the armor. However, I ran into a small issue here, since my Ender 3 printer wasn’t large enough to print most of the pieces. I installed a free program called Slic3r, and used it to divide large armor pieces into smaller, more manageable chunks. One thing I did learn from this was to have a more organized system of naming files, as I constantly printed the wrong pieces since I couldn’t remember what I named it.

A Stroke of Luck
If you want a free 3d printer, just follow these easy steps! First, wait for your printer to break, as it inevitably will. These machines are extremely unreliable, and seem to break at the best time possible in order to maximize your frustration. Next, try fixing it, but give up very quickly since you’re impatient and have no self discipline. Finally, instead of researching how to fix your printer, email customer service and ask for a new one. In all seriousness, don’t actually take advantage of customer service. Anyways, this is exactly what happened to me. My printer broke down, and I spent an entire week troubleshooting and trying to fix it, to no avail. In an extremely fortunate turn of events, I was able to get a new replacement printer sent to me. I replaced some parts on the old printer, and voila- I now had two printers to abuse, something that sped up the process by a huge amount.
Construction
Now comes the worst part of the process, which is building the costume itself. If you recall, I printed all of the parts sliced into pieces, and they needed to be joined. I accomplished this using my soldering iron.
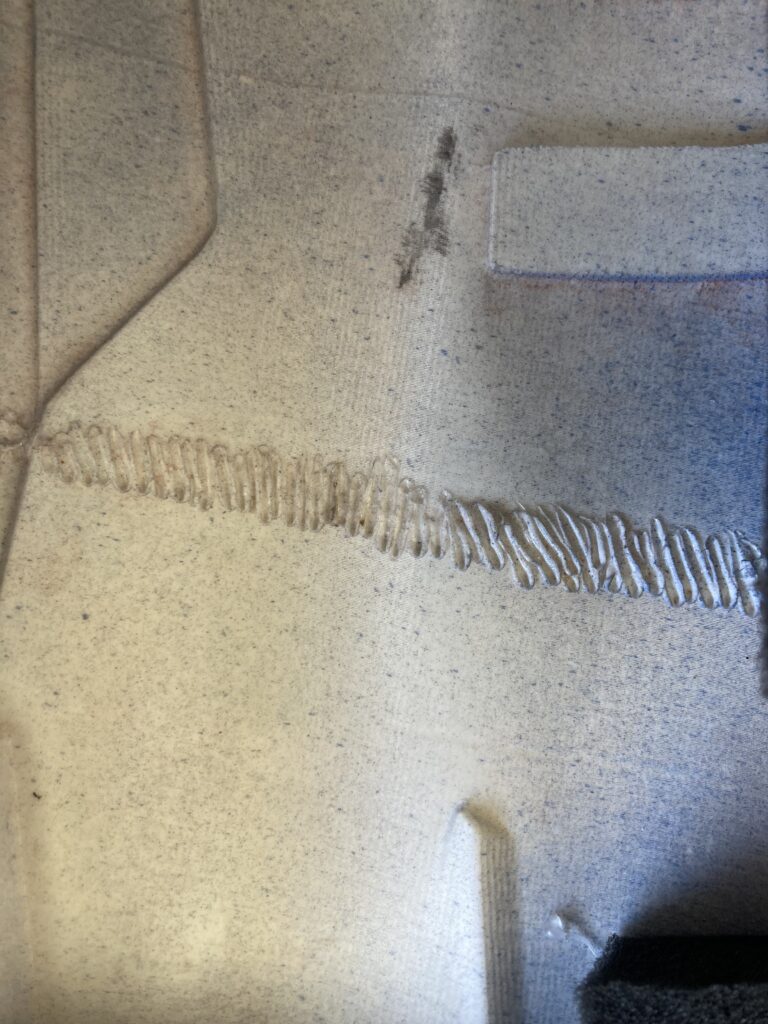
First, I would glue the pieces together with superglue until the position was right. Then, I would take my soldering iron, and use it to melt the pieces together. I would pull it across the two seperate pieces, creating a stitching pattern as you can see above. In spots that needed extra reinforcement, I melted plastic from failed prints to weld the two parts together. This technique took some expirementation, but it works pretty well, and I’d reccomend it if you ever need to combine two 3d prints into one. However, definetly use masking tape to join the parts instead of superglue, since I learned the hard way that the soldering iron would evaporate the glue, leaving some pretty nasty chemicals in the air.
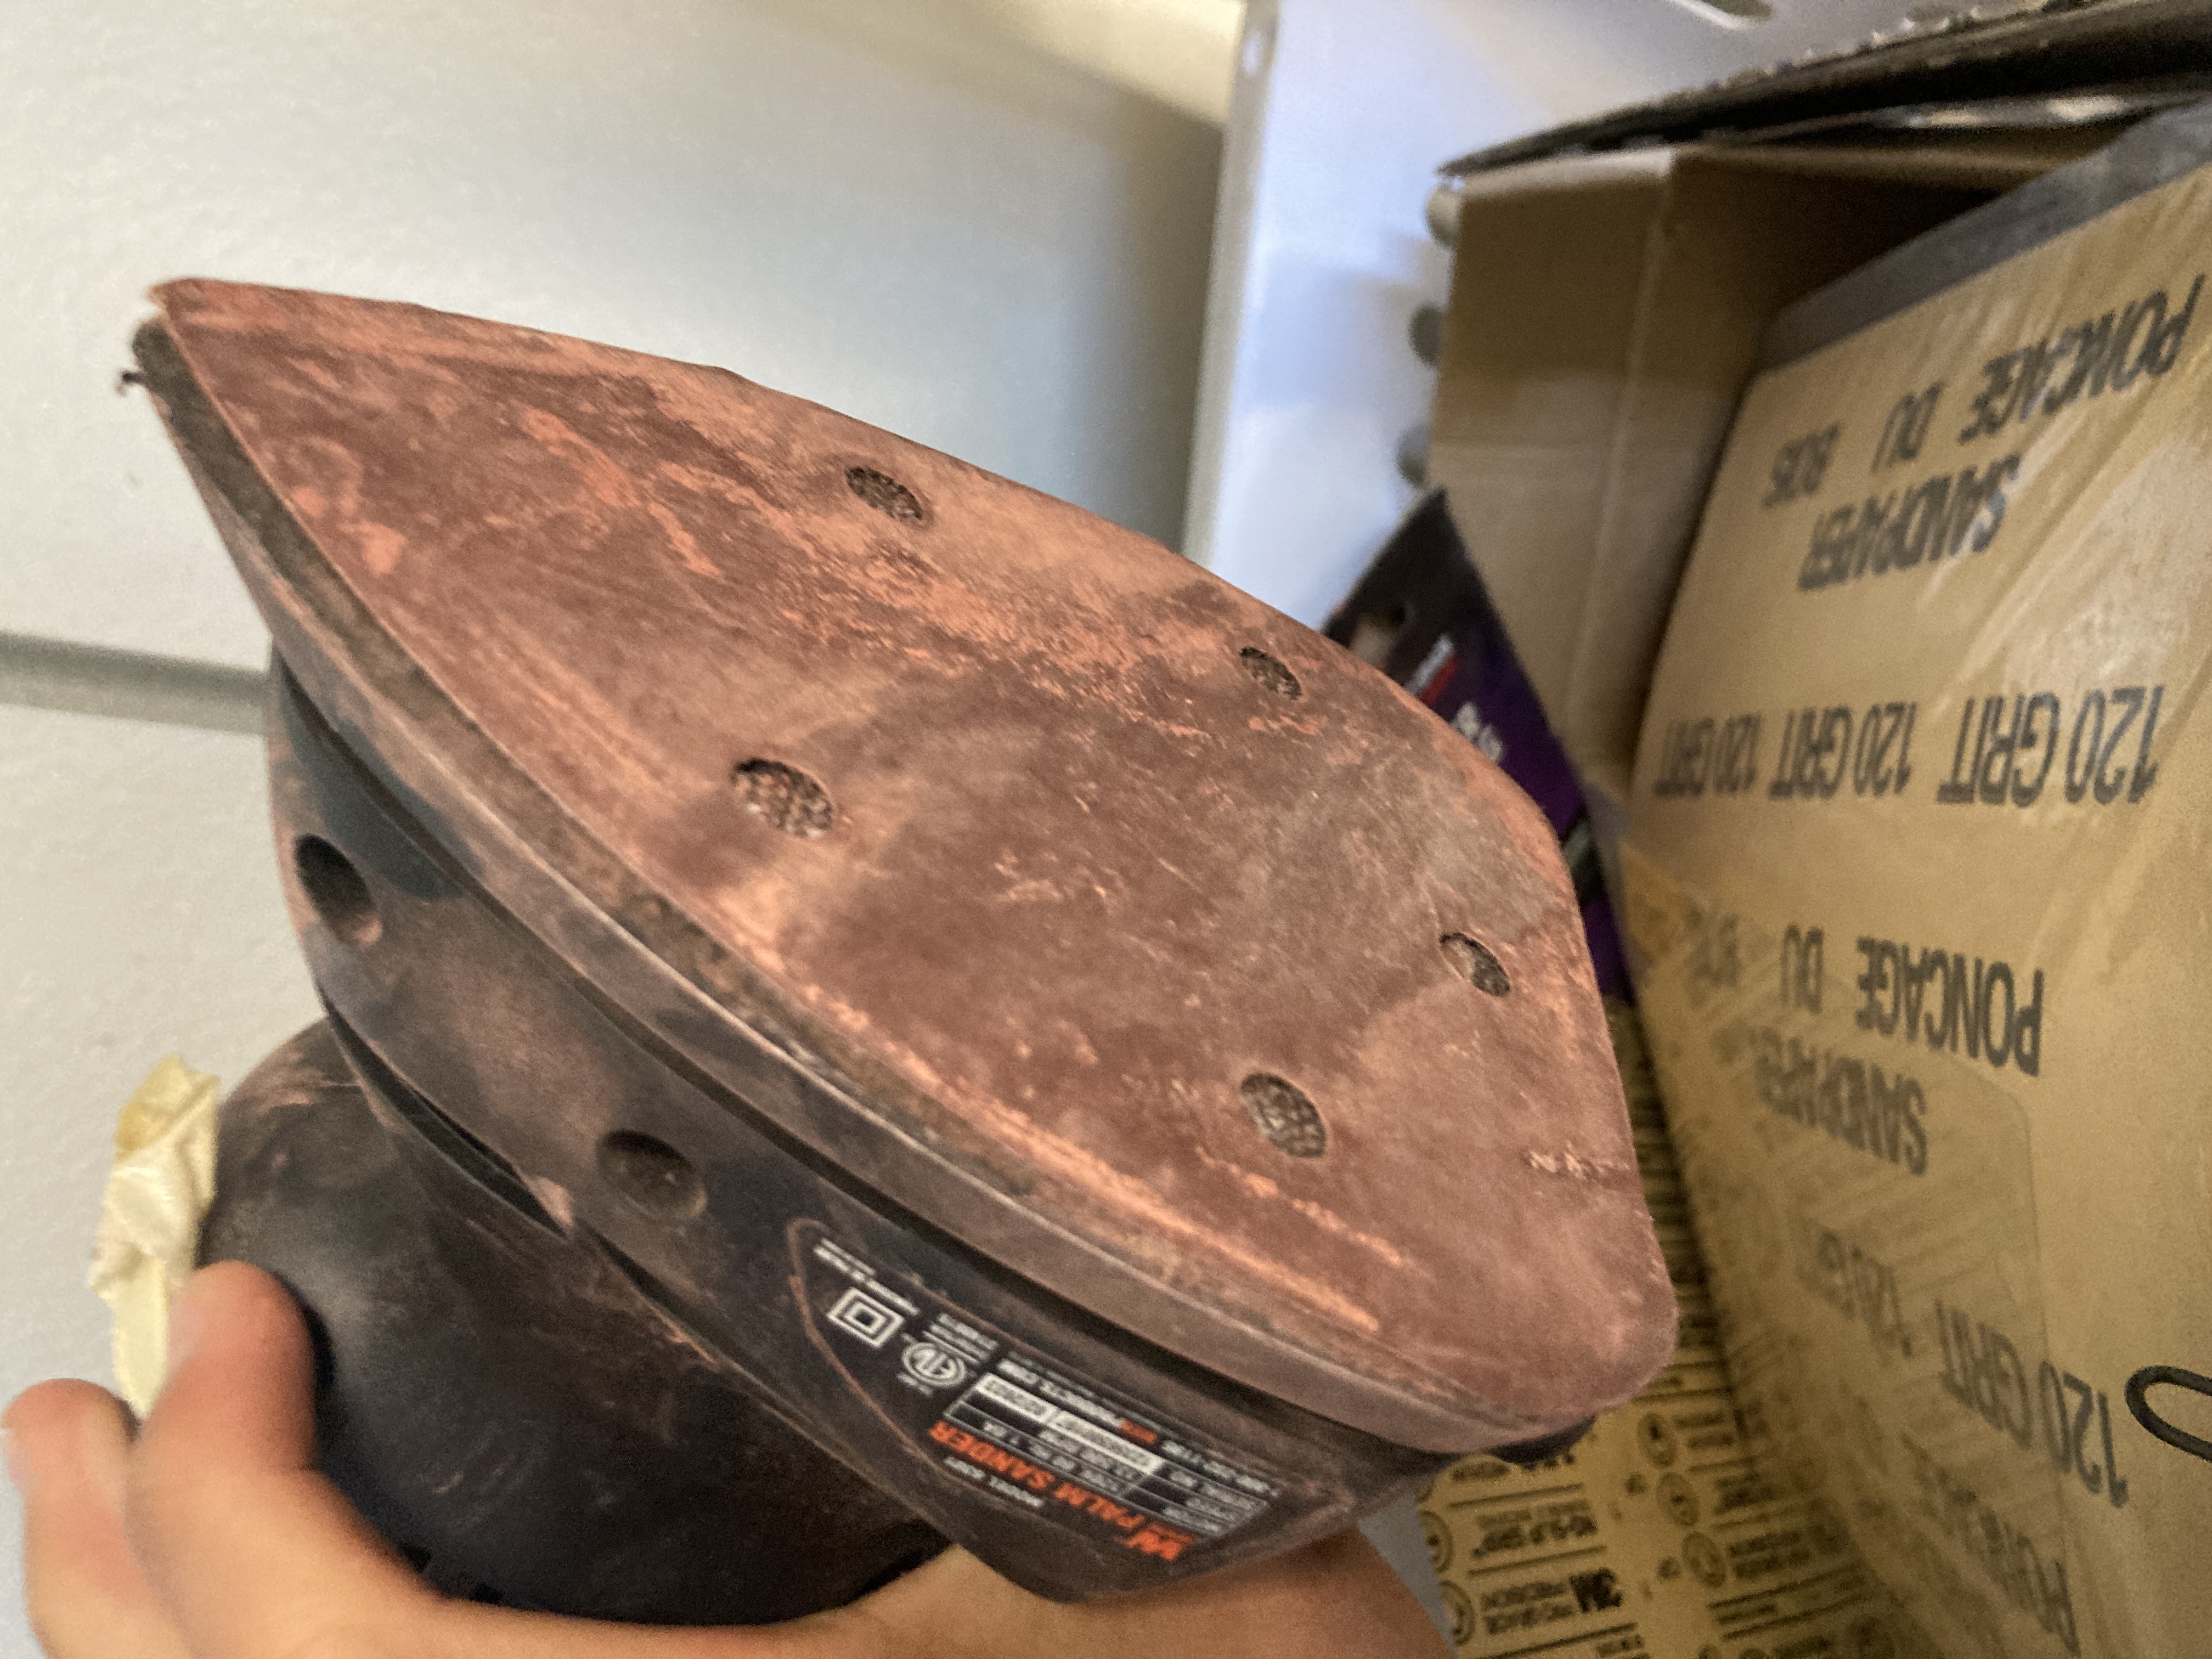
Next, I had entered the worst phase of the build process, which I call ‘Sanding Hell'(trust me, the name is fitting). If you’ve ever seen a 3d print, you’d be aware that there are distinct layer lines that cover the model. For a good cosplay, these have to be removed for the armor to look aesthetically pleasing. Removing layer lines was extremely boring and slow, since each piece had to be polished multiple times. Originally, I just used sand paper sheets, and pitifully polished pieces by hand. However, the tedium soon became too much, and I bought an electrical sander off of Amazon which saved me countless hours and helped me keep my sanity. Even then, sanding still took countless weekends, and a few dozen hours.
The print, also had countless gaps and dents, which needed to be filled. I used an automotive body filler called Bondo, which helped cover up these imperfections. I wasn’t too aware of the safety risks at the time of building, so I would handle the substance without gloves and just a surgical mask. When sanding, I’d be covered in the red dust, and not worry about it too much. Thinking back, I cringe at the lack of safety measures I took when working with bondo. In the future, I’ll definetly invest in a shop vaccuum for the dust, and an actual respirator. Still, the possible cancer was worth it for a smooth finish on the armor.
Rigging
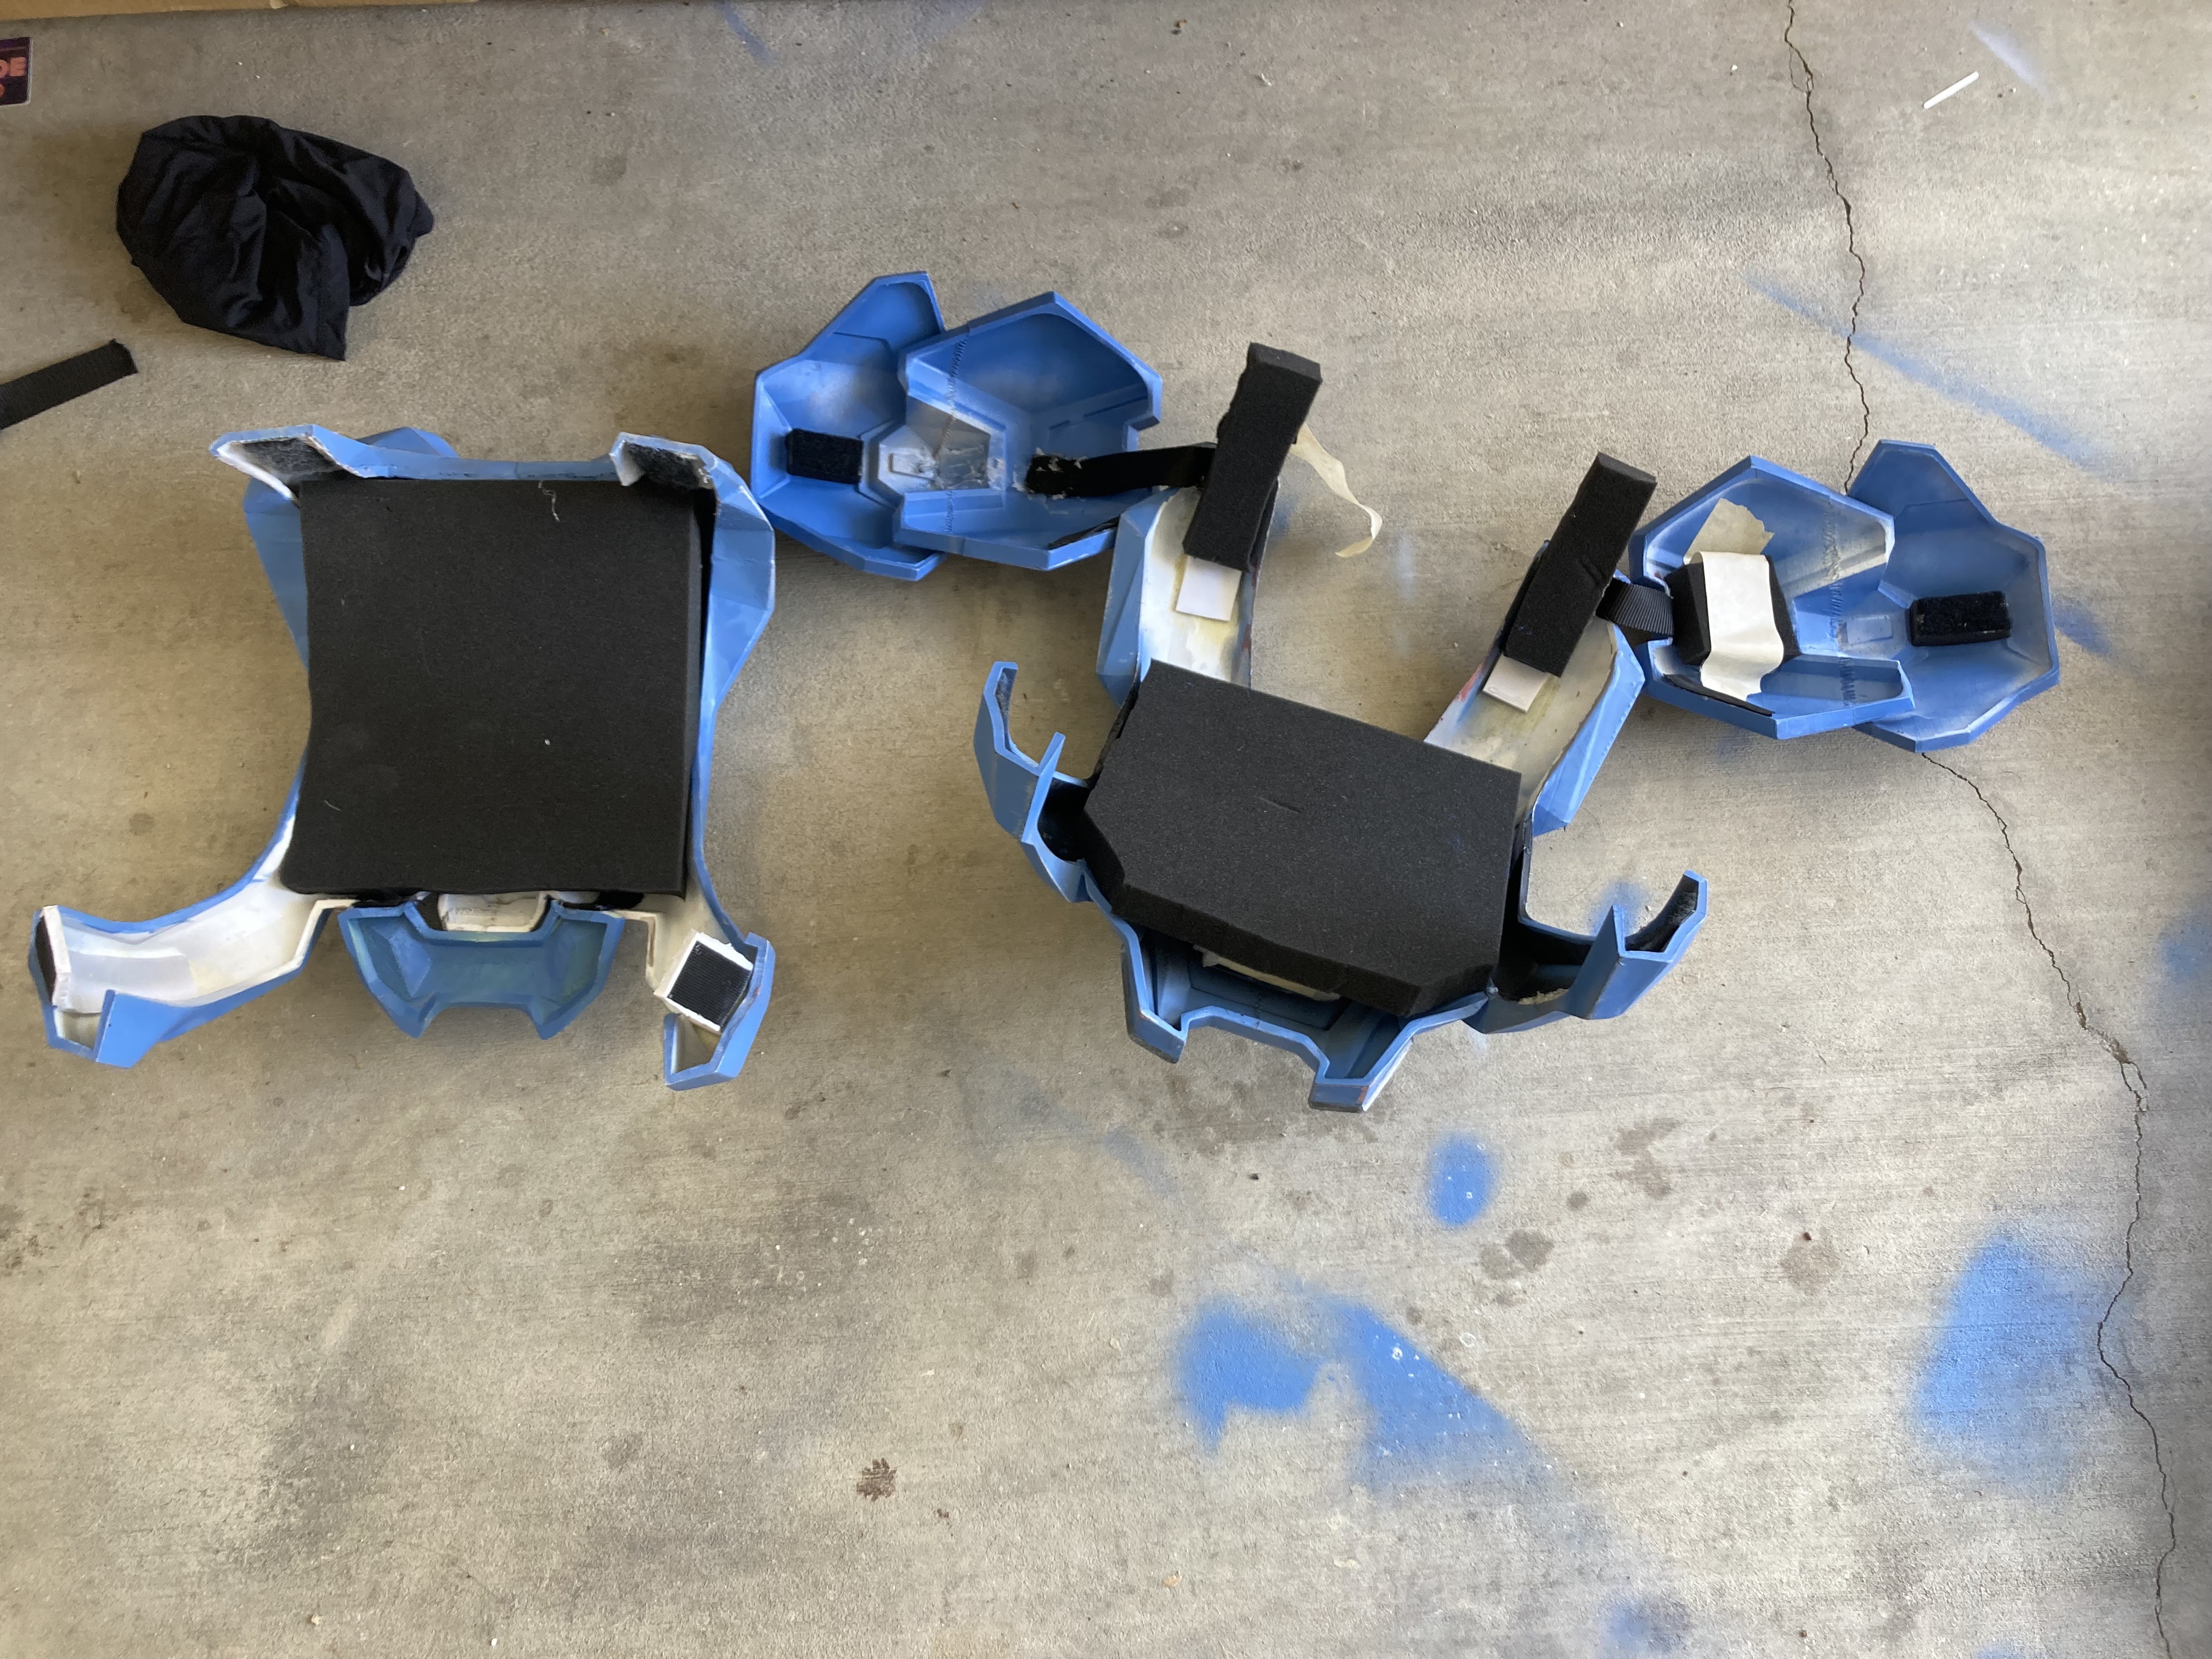
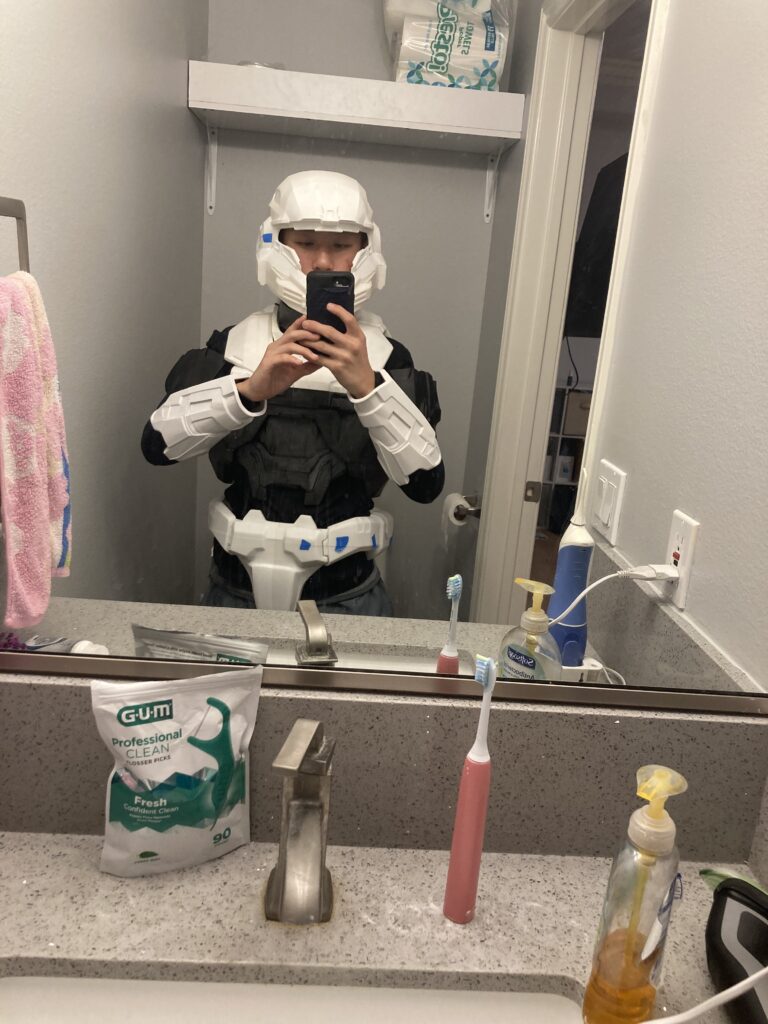
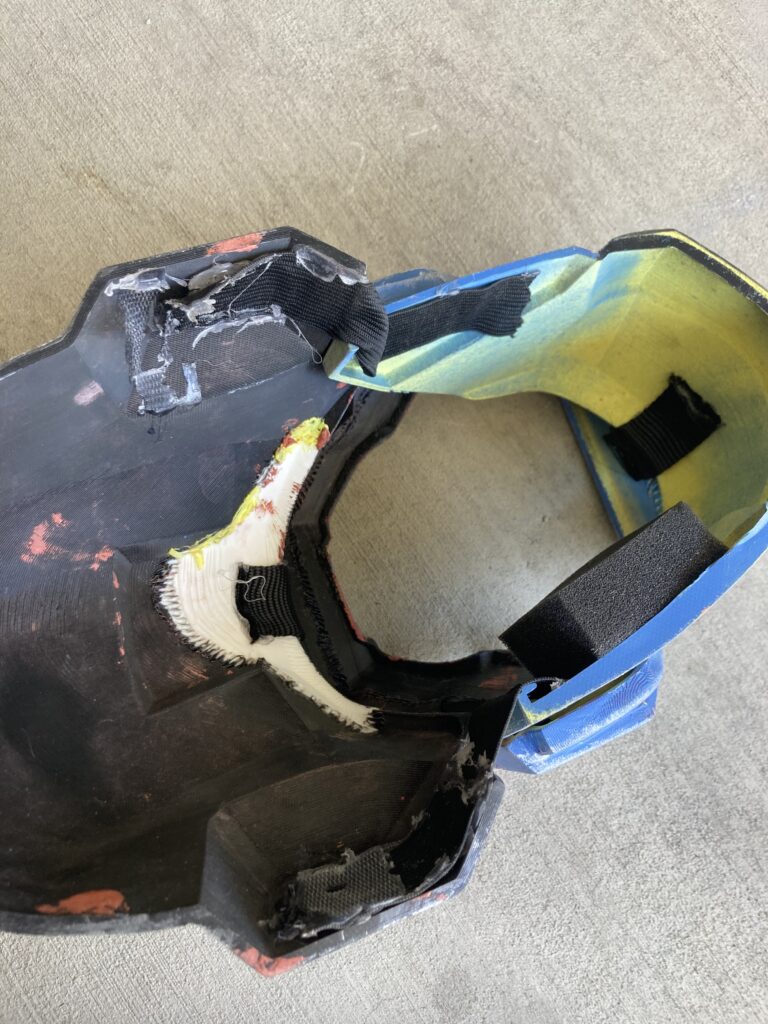
After countless hours of sanding, I was finally able to see the light. Next came the fun part of the project, which was attaching it to my body. For the chest plate, I had it split into two parts, one in the front and one in the back. Velcro attached to foam straps helps to hold the two pieces together, and the gap is hidden by my arms. As for padding, I cut two large pieces of upholstery foam, and stuffed them in the front in back. This lets the chest sit snugly and comfortably.
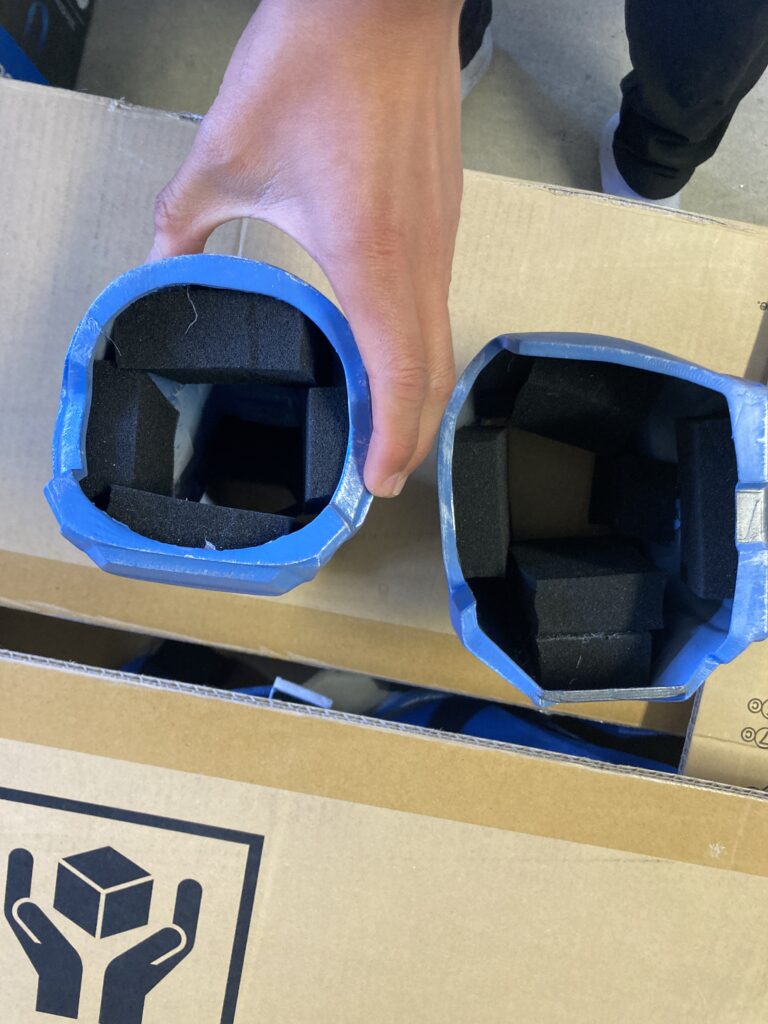
The forearms, biceps, as well as shin were all held by friction. I just stuffed the inside with upholstery foam. The tight fit prevented them from sliding around, allowing me to comfortably wear them for long hours without issue.
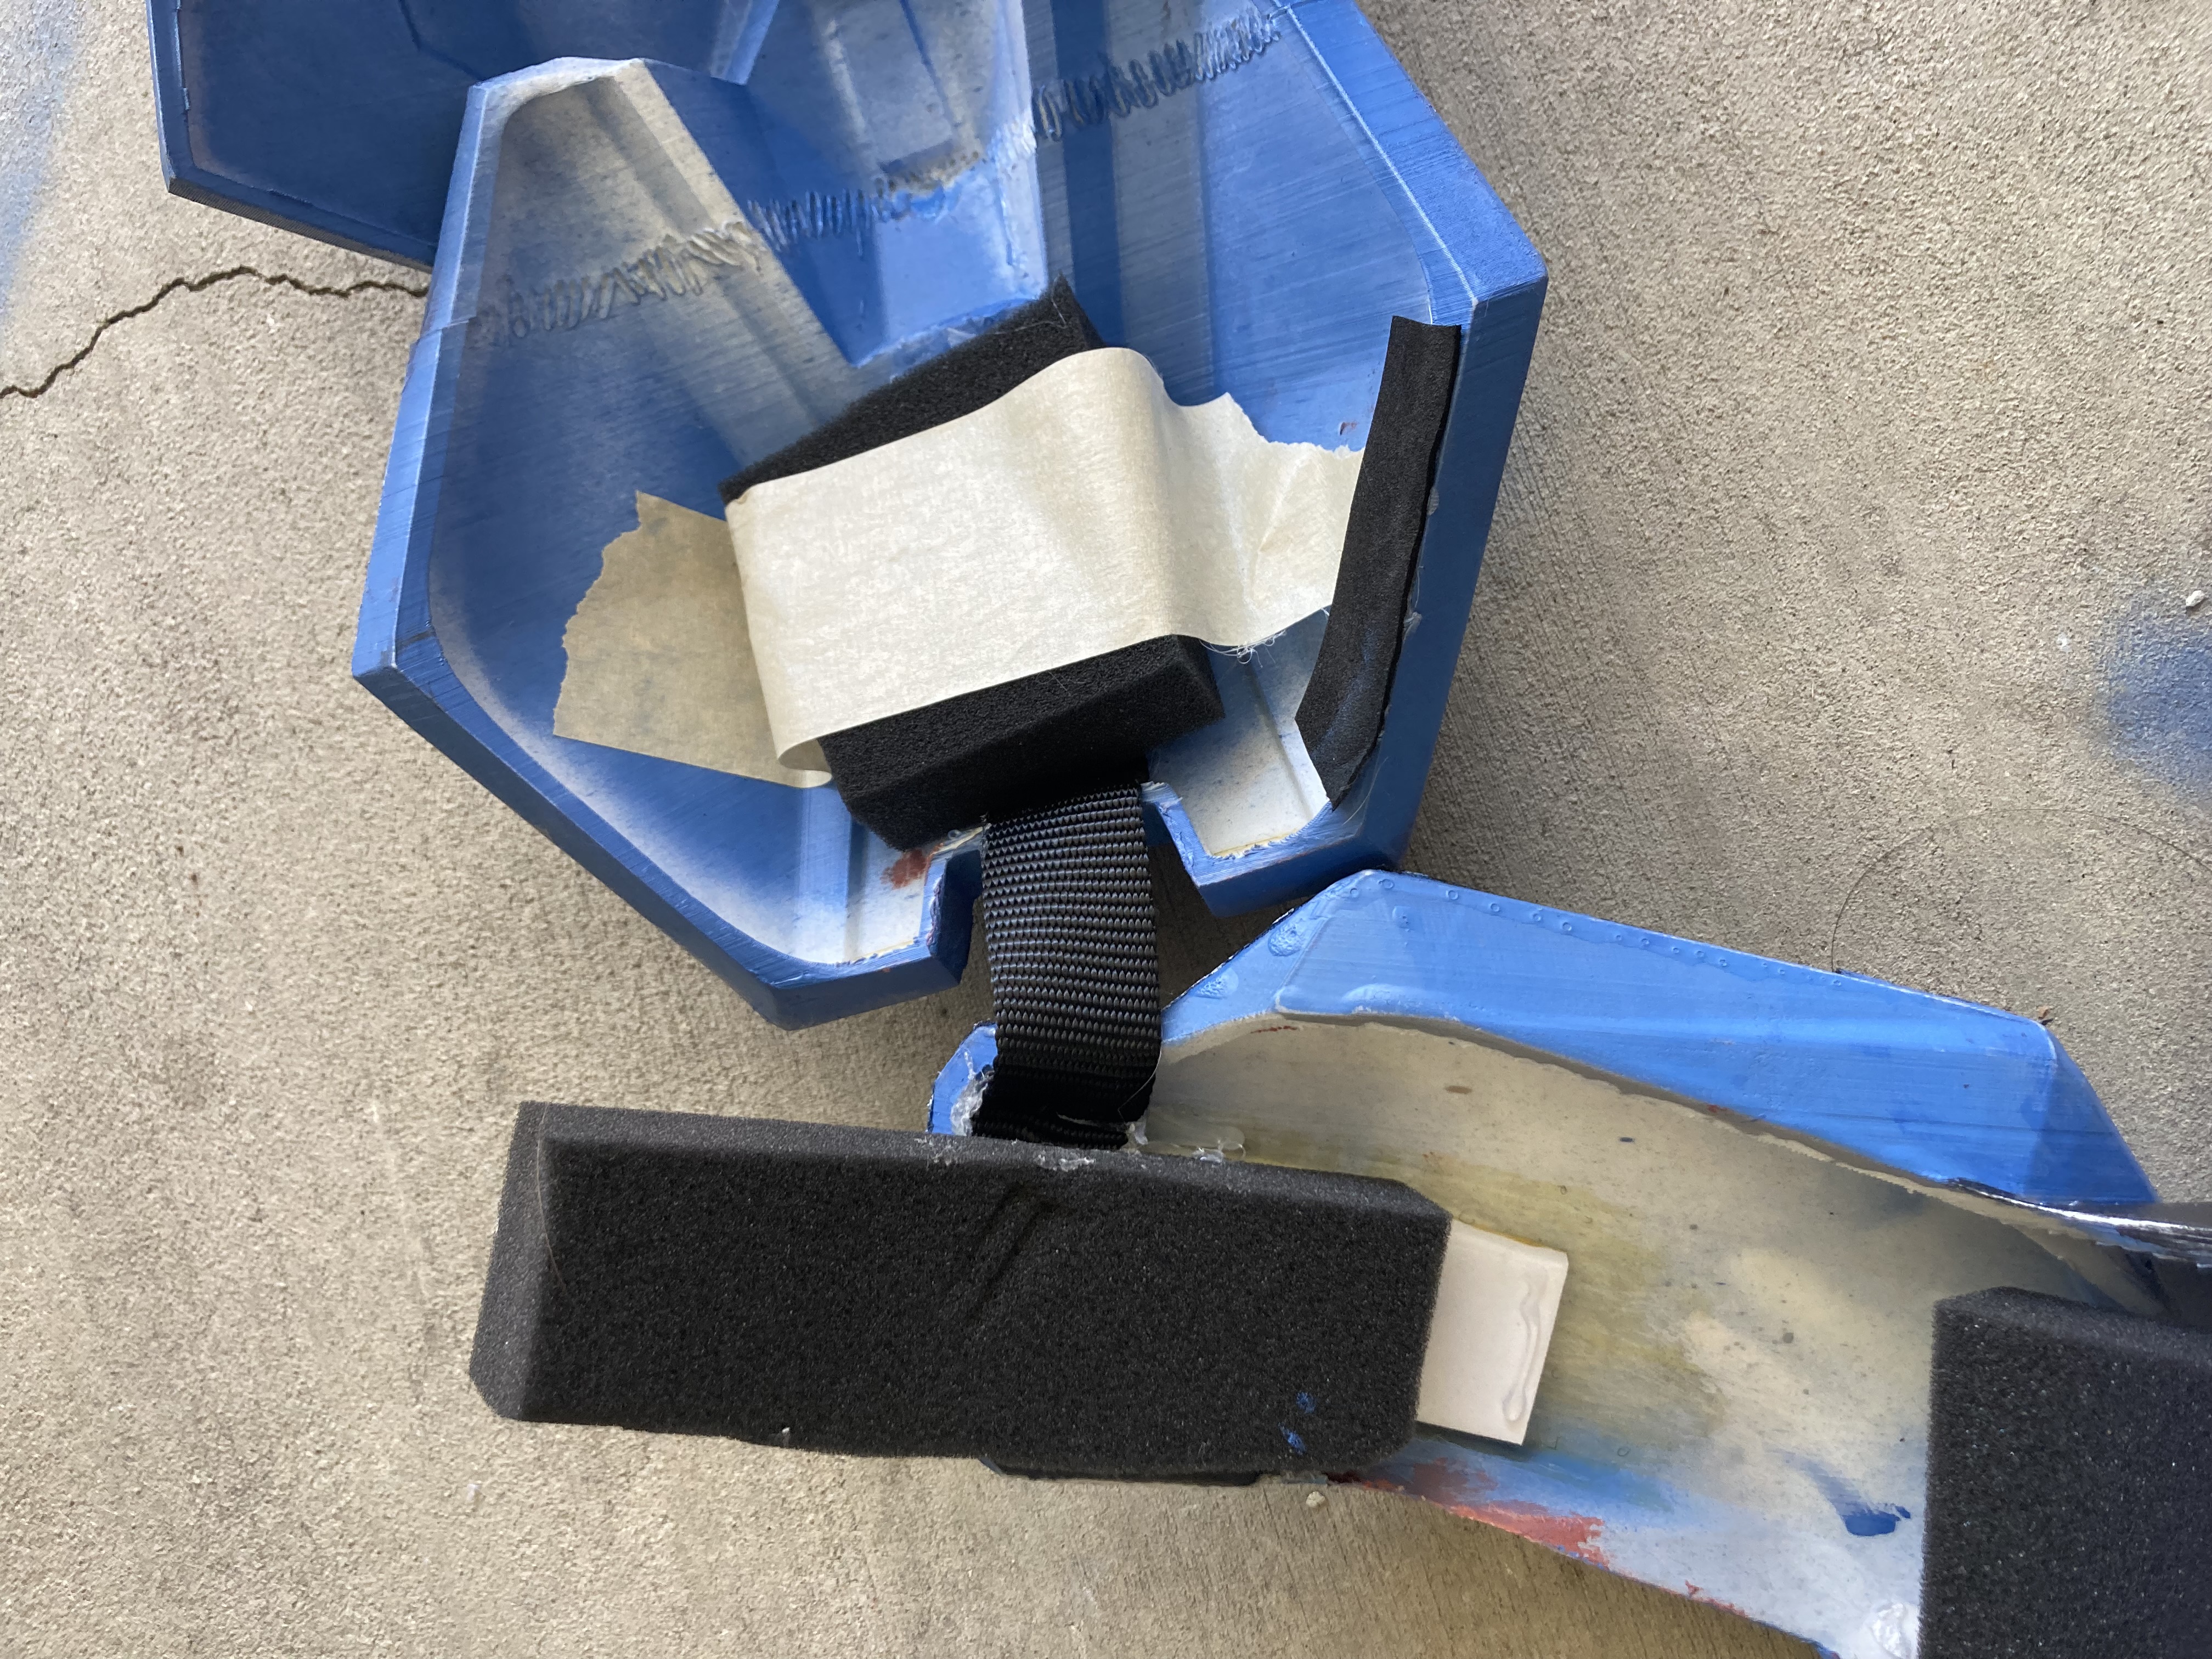
For the shoulders, I simply glued them onto a nylon strap, and then glued the nylon strap to the chestplate. This allowed them to just hang to the side and to cover my arms when I was wearing them. I also added small pieces of velcro, attaching the shoulders to the biceps, so that they would move accordingly with my arms instead of just hanging there.
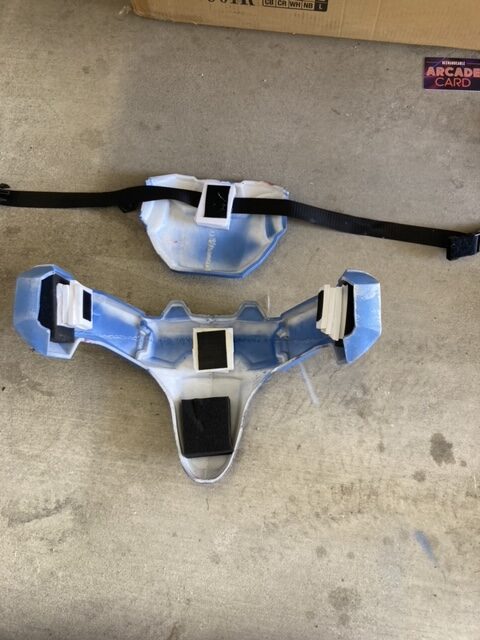
To attach the waist, I fashioned a belt out of nylon webbing. The butt plate was attached to the belt with glue, while pieces of velcro on the belt hold the waist in place. Furthermore, I used the Belt to attach the thighs. I attached a strap to each thigh, and then added velcro on the strap so that it could be looped around the belt. This secured the thigh armor, and prevented it from sliding down while still allowing me to walk.
As for the shoes, I printed them in 4 seperate pieces. The front of the foot, the heel, as well as two top plates. I attached all the pieces with pieces of nylon webbing, so that they would stay together, but also not be rigid so that I could walk easily. They simple went over my walking shoes, and I was able to walk around freely(Though the clanking on hard floors eventually became pretty annoying)
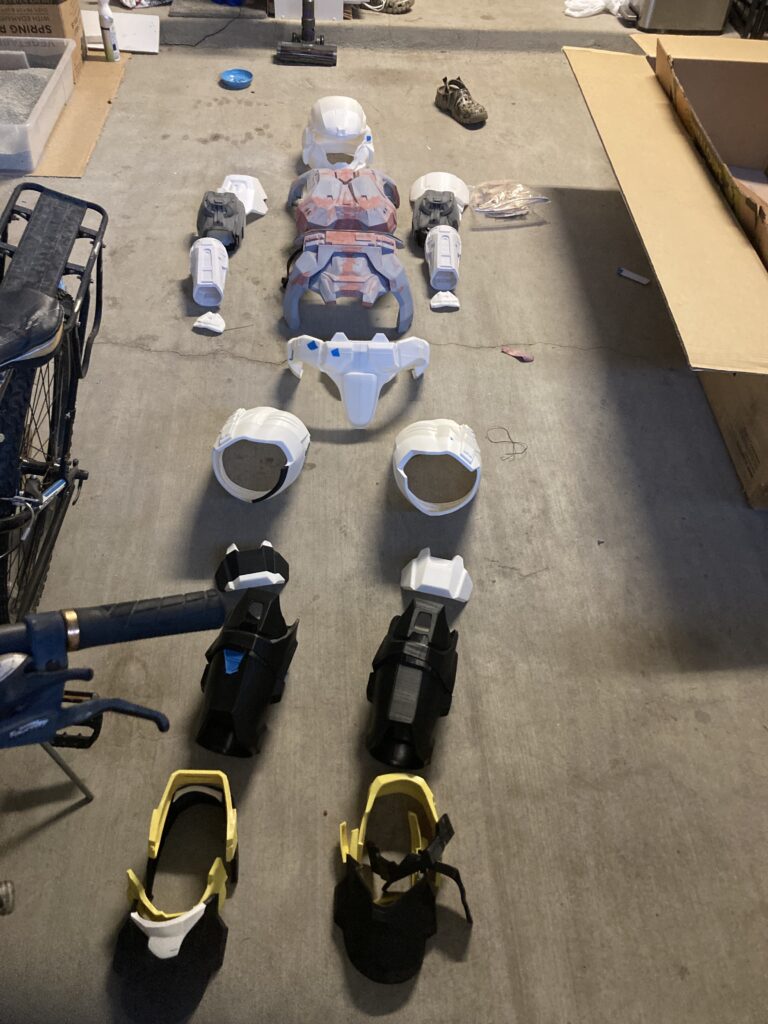
Painting
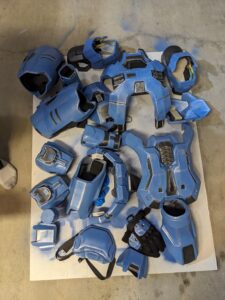
At this point, there were only 2 weeks left before LA comicon. I had procrastinated a lot, and already blown through my original deadline of Halloween. I found help from my amazing family, who helped me speedily paint the armor. First, I primed all of the pieces, before applying a coat of blue spraypaint. For the black and silver highlights, primer had to first be handpainted onto the required areas, since the acrylic paint didn’t stick to the blue layer. Finally, after all of the painting, I took a stiff brush, and painted all of the edges silver using a technique called drybrushing. This made the armor look more weathered and worn, but also allowed the edges to pop out from a distance. Finally, I sprayed a layer of varnish to prevent the paint from flaking or rubbing off. With that, I had finished my own suit of Halo armor!
Conclusion
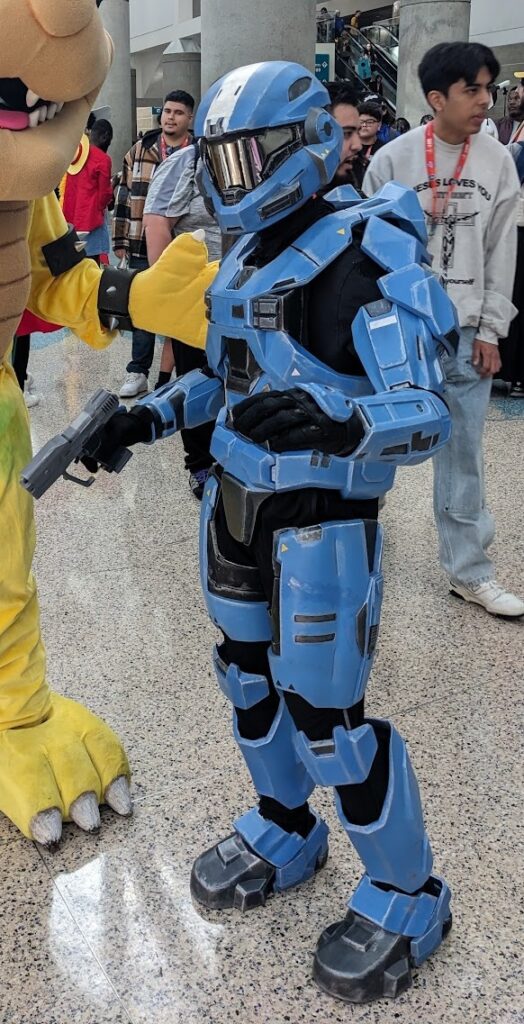
 Some vanity shots :]
 Another cool halo cosplayer!
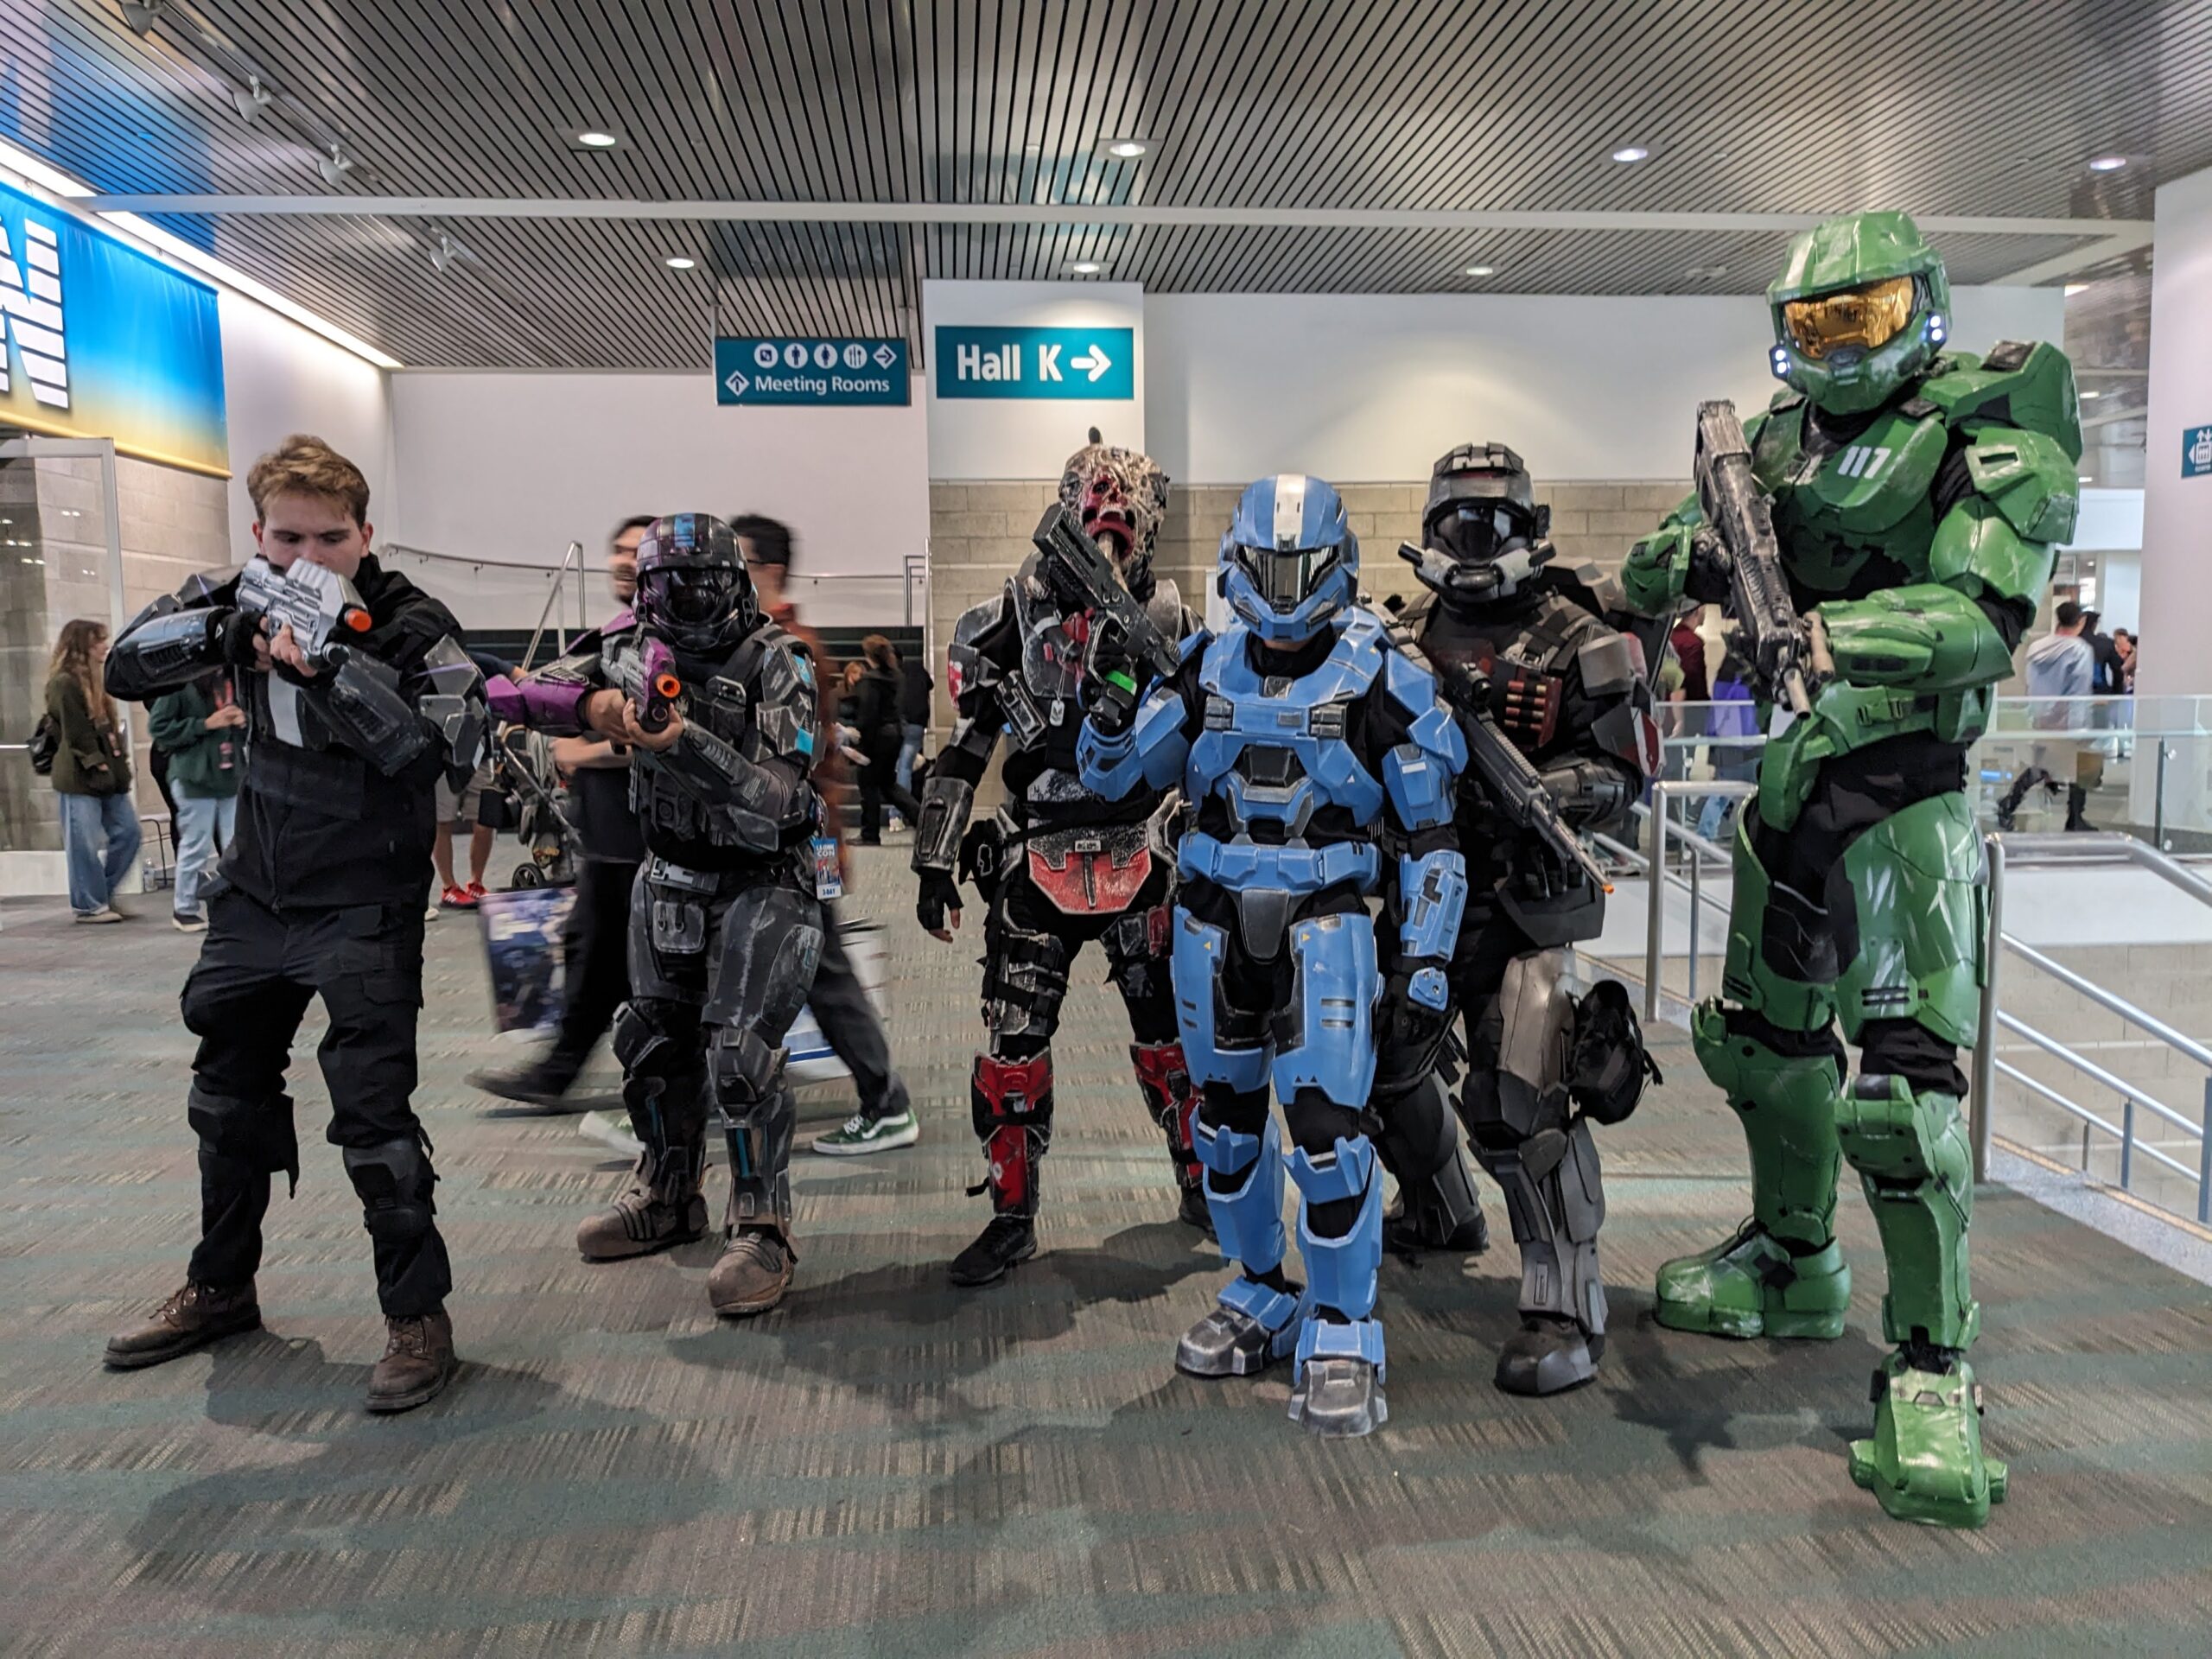 A bunch of cool halo cosplayers!
 Is it just me or does the armor make me look fat :/
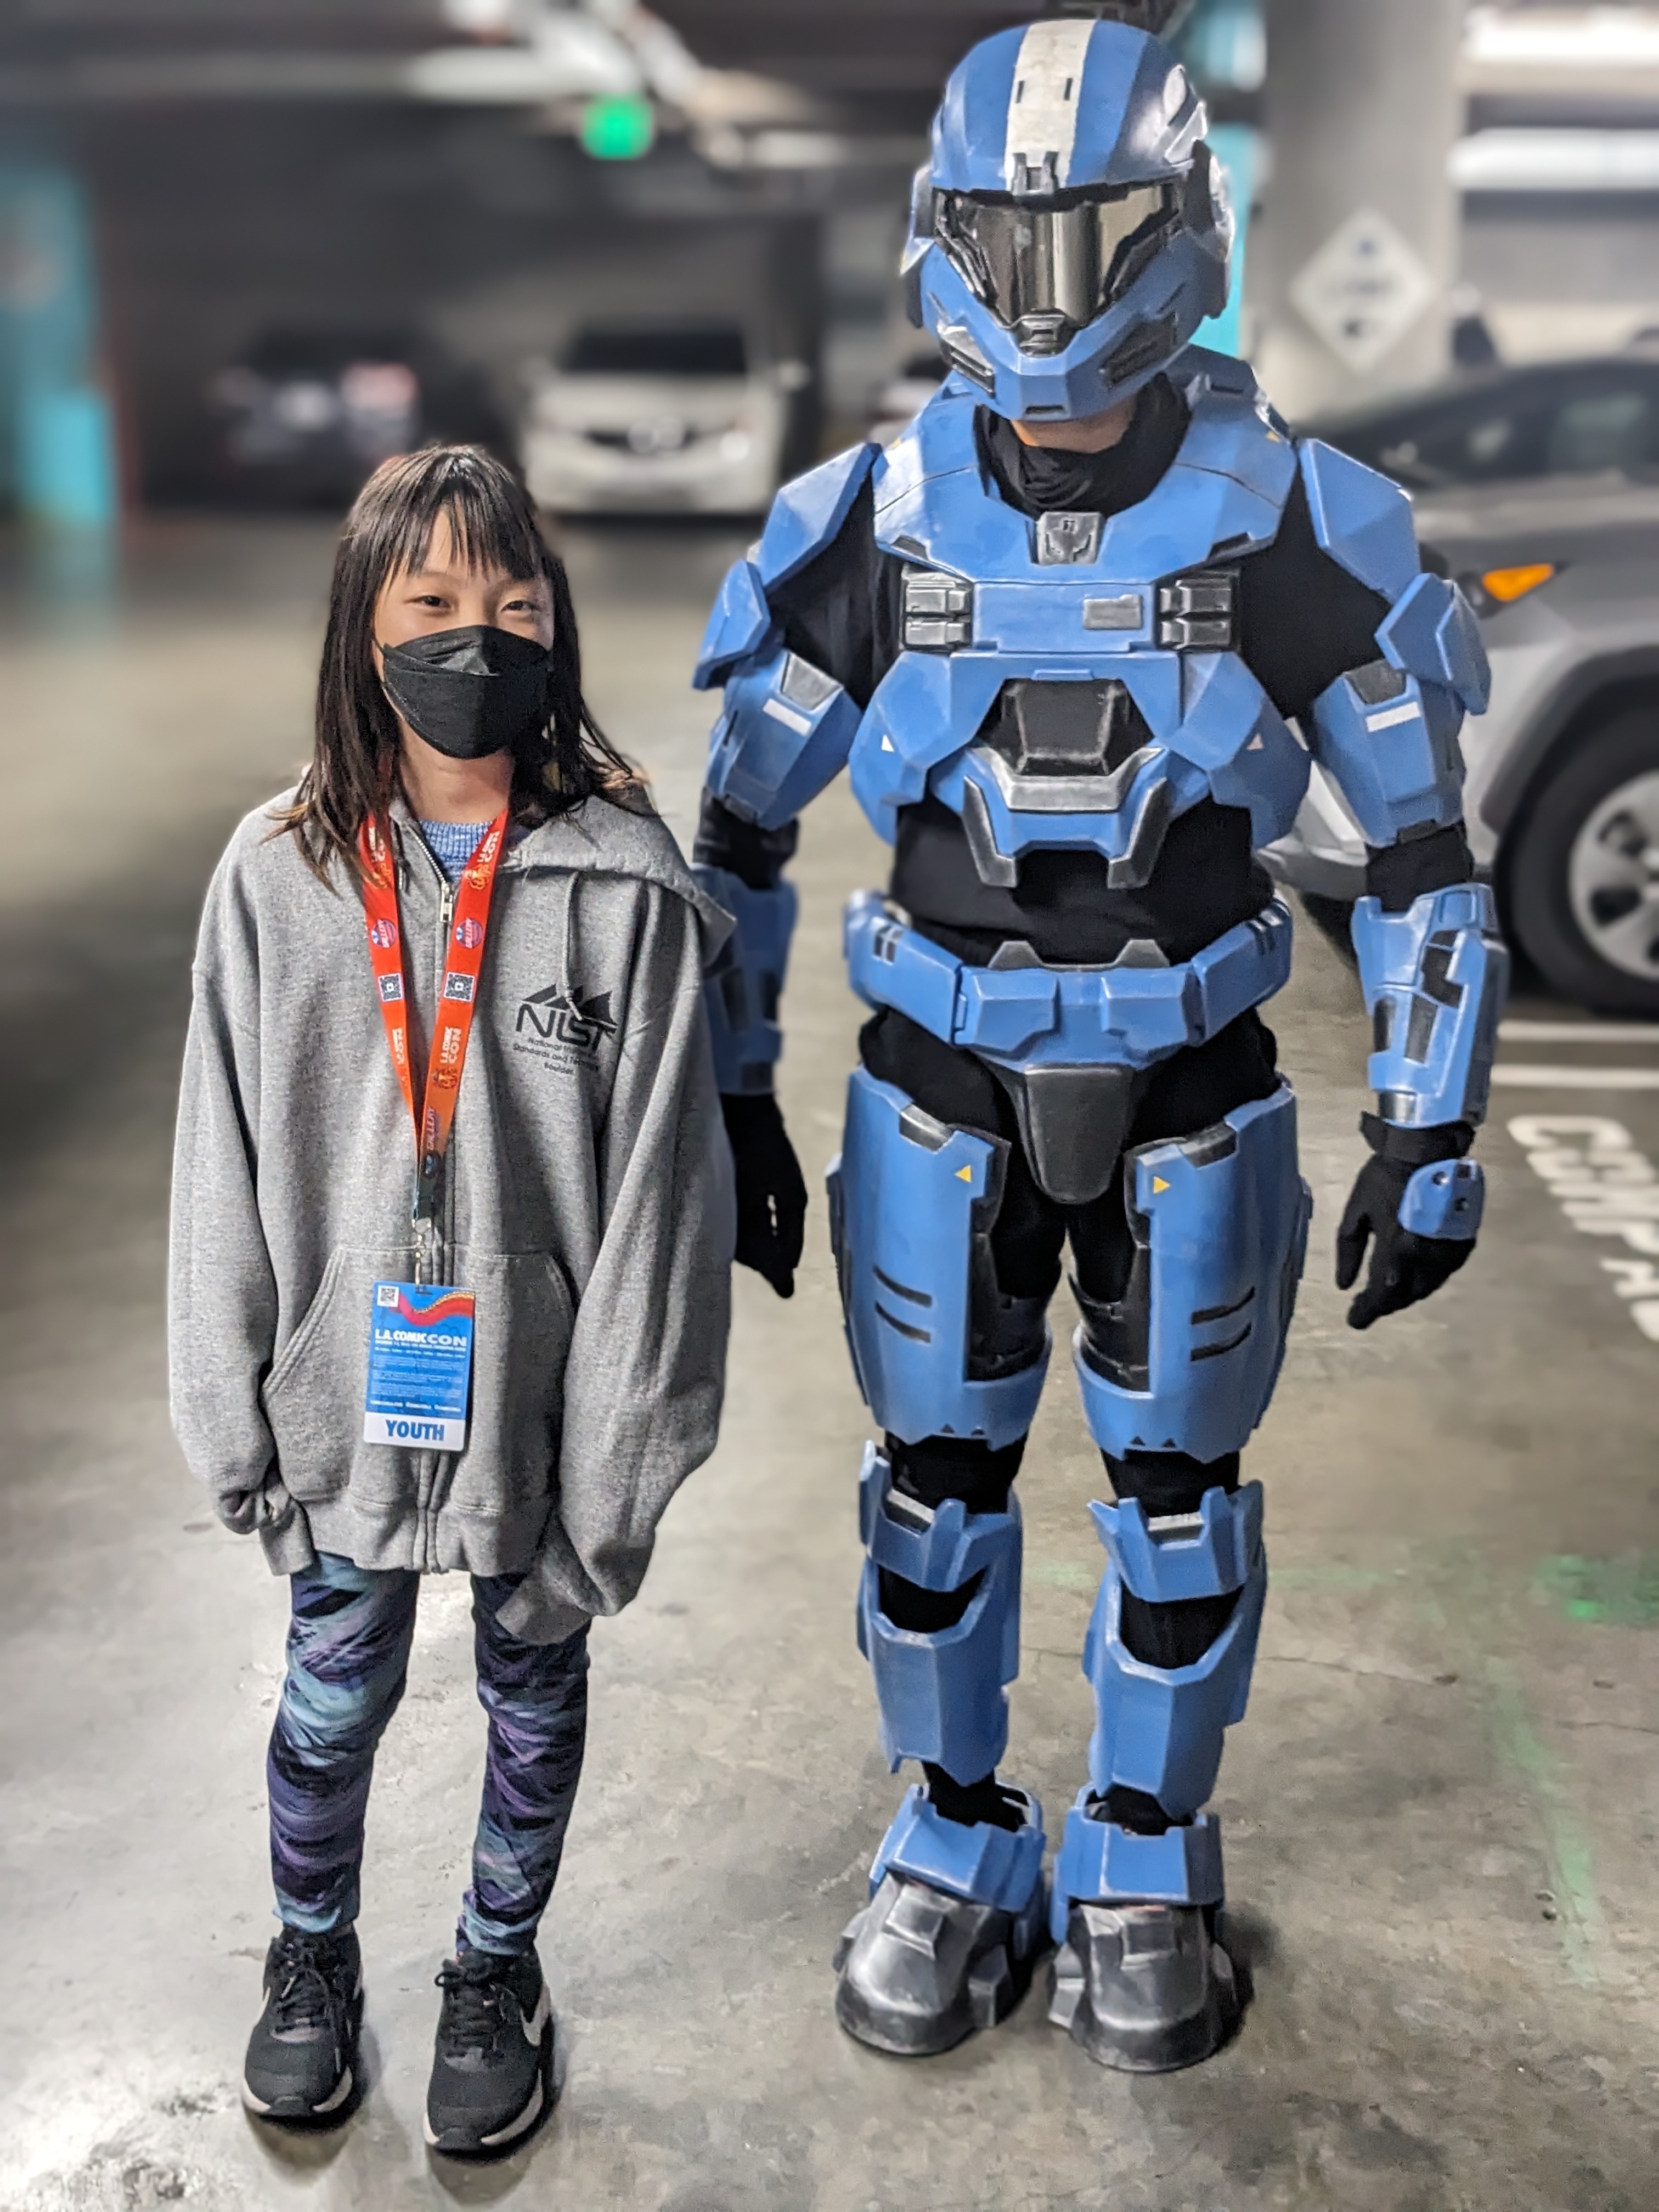 With my sister
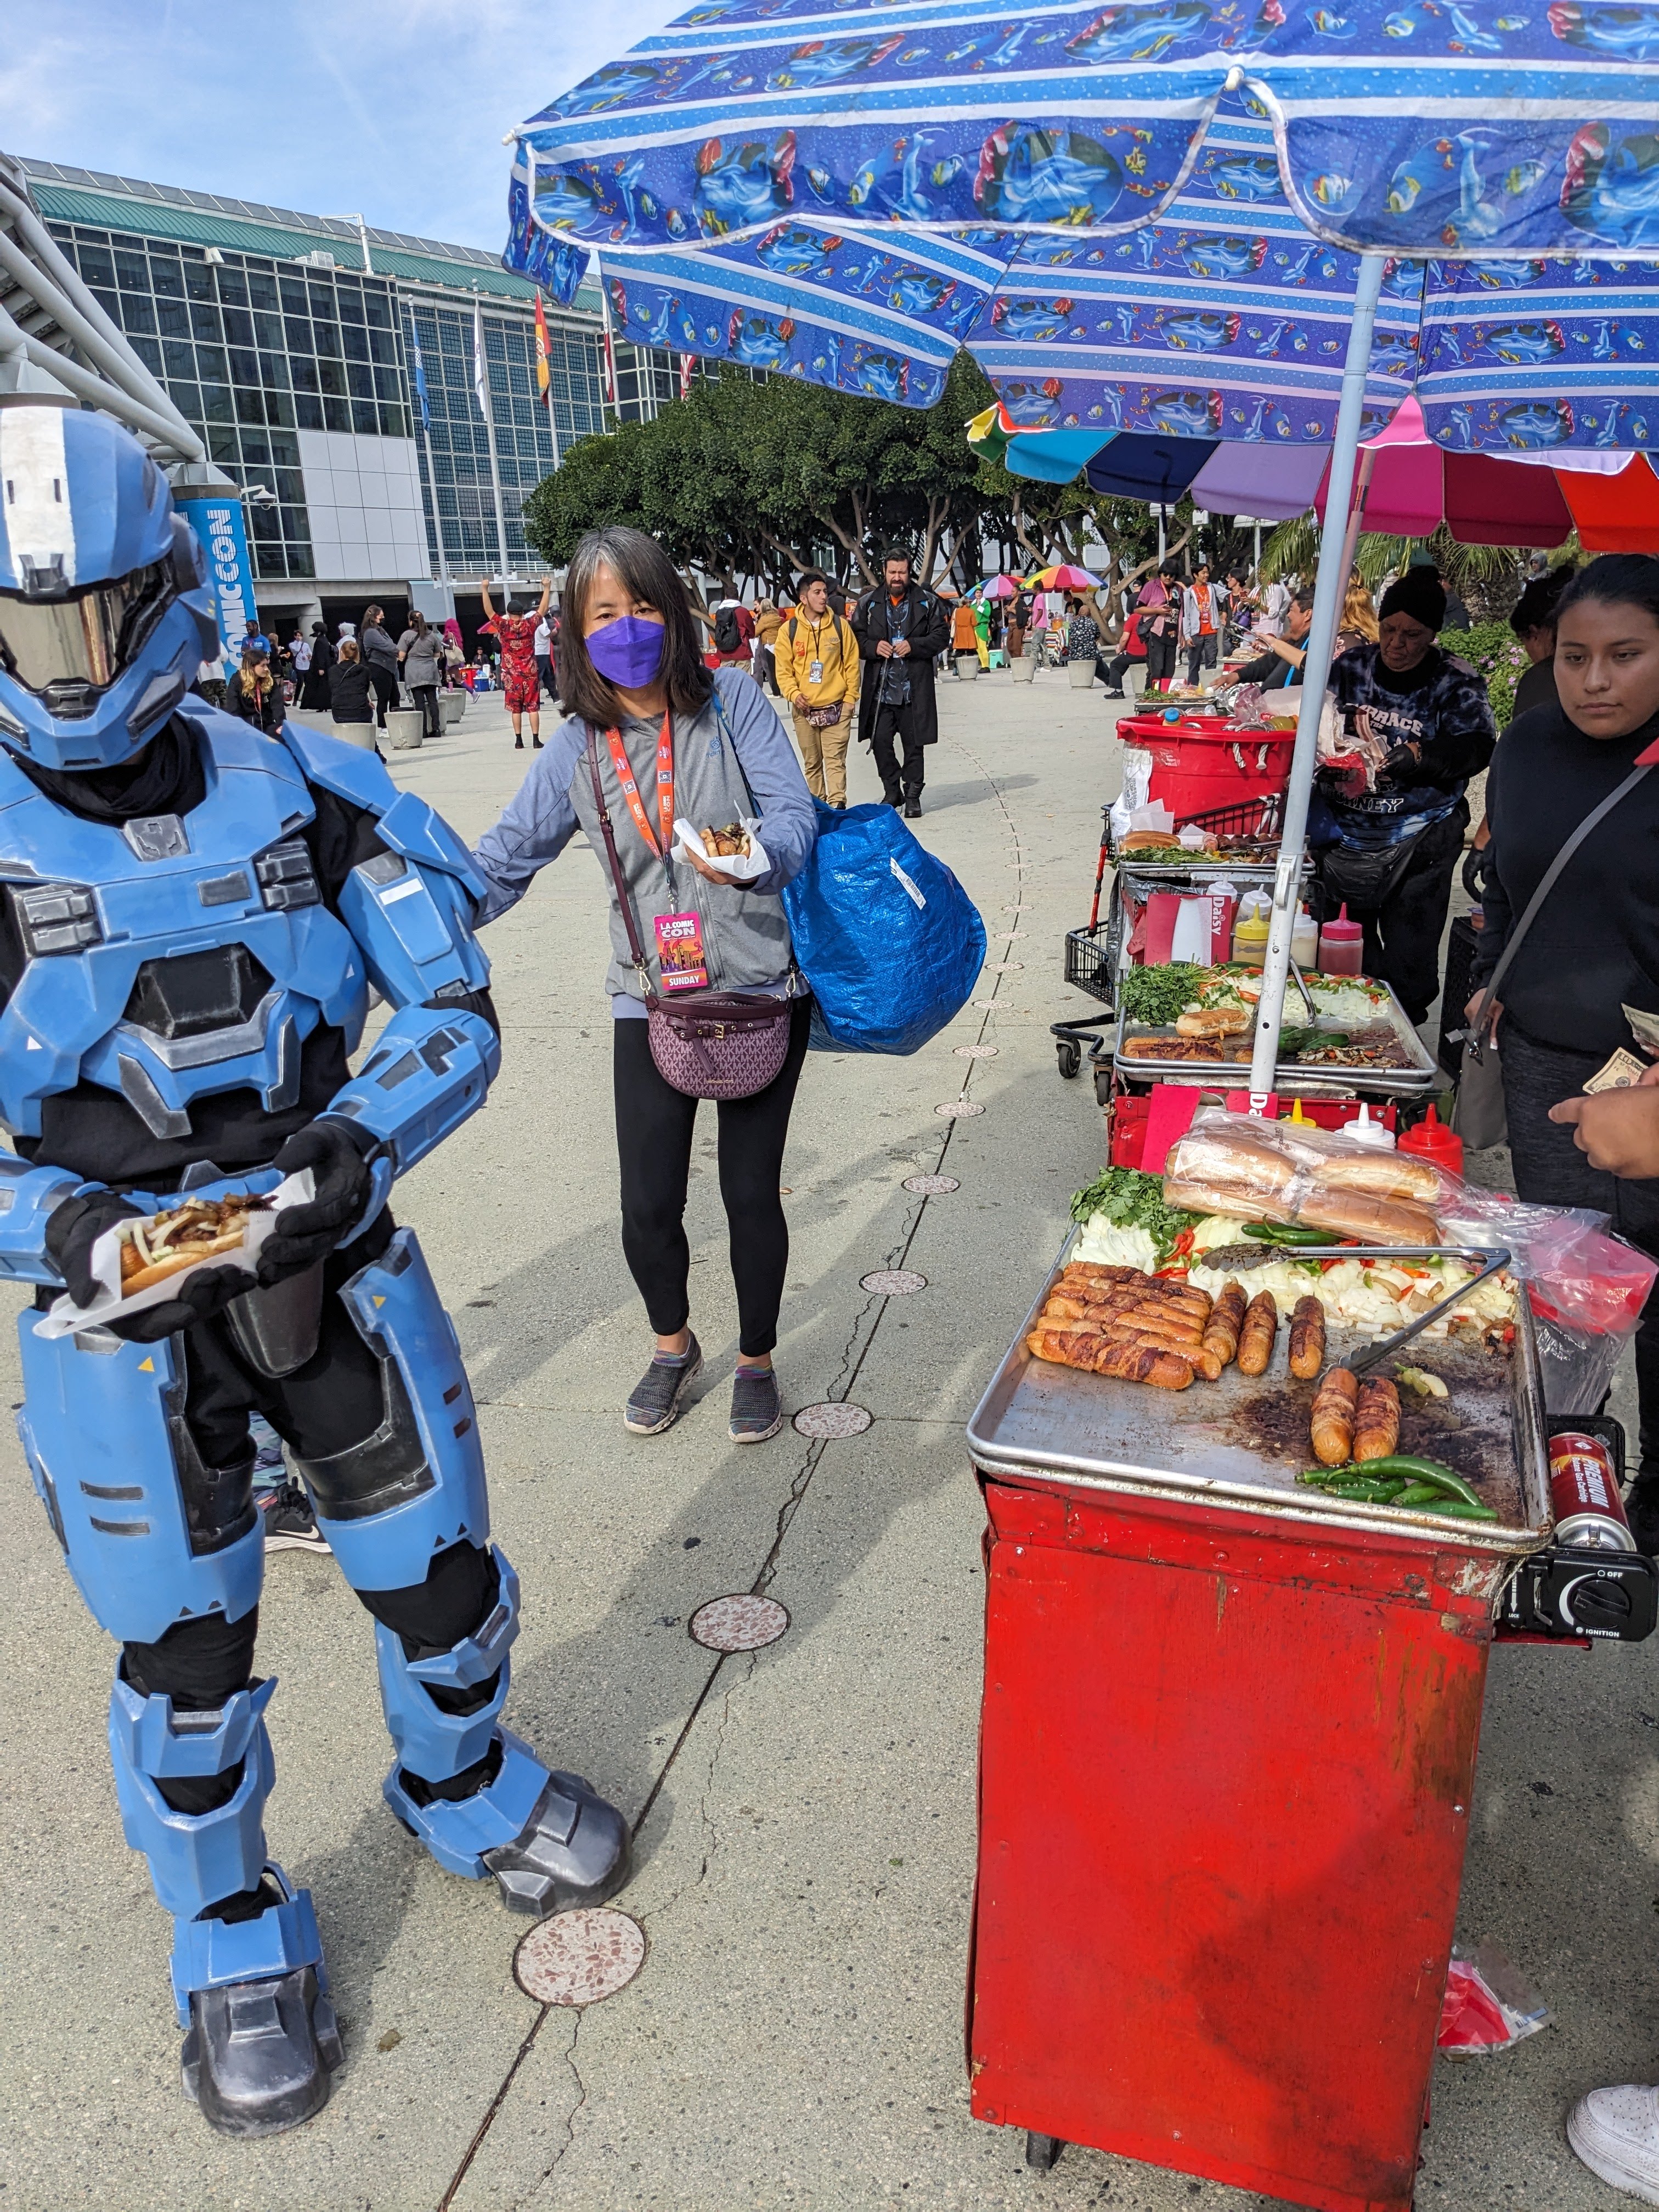 buying a hotdog
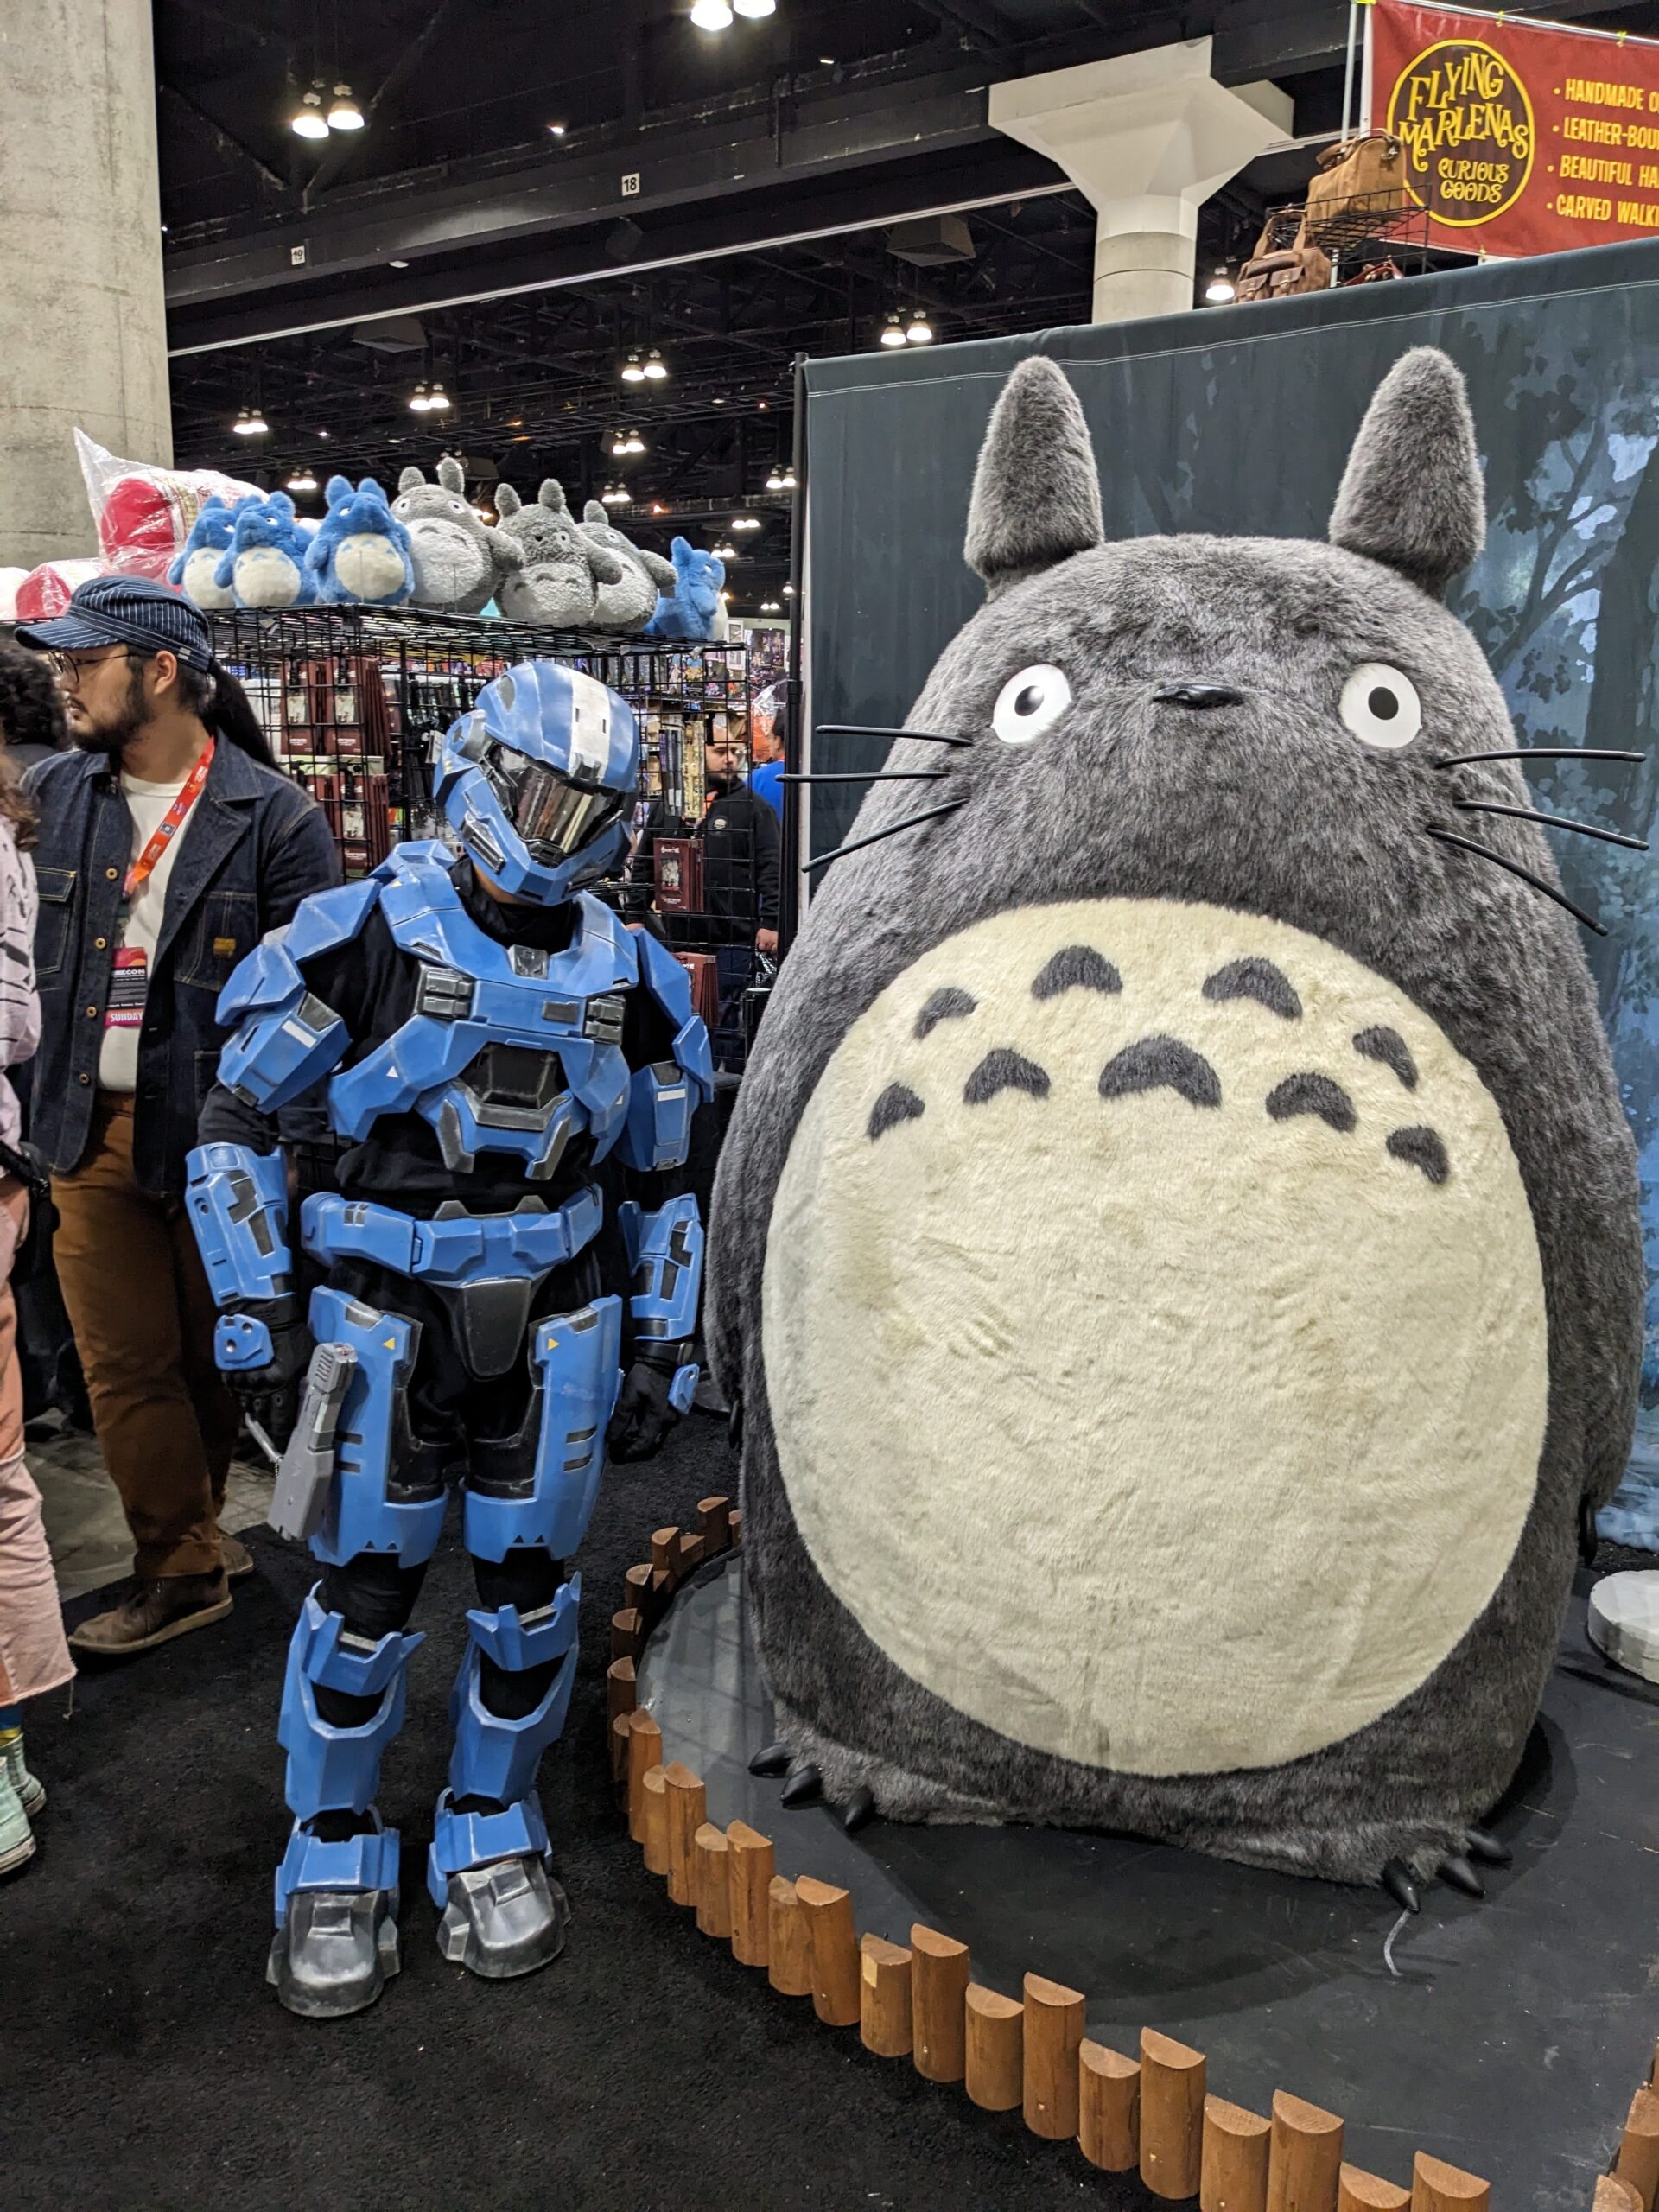 with a totoro statue
Overall, this project took around 8 months of time, a lot of which I did not enjoy. However, by staying persistent, and always telling myself that I could work on it later(yay procrastination!), I was able to push through and finish the project. This project serves as a cautionary tale to me; I learned the importance of timetables and scheduling the hard way, and also the importance of managing burnout. Still, it was incredibly rewarding and fun to be able to bring a project like this to life!